I don't usually post pictures of work I do for others, but I thought I would make an exception this time.
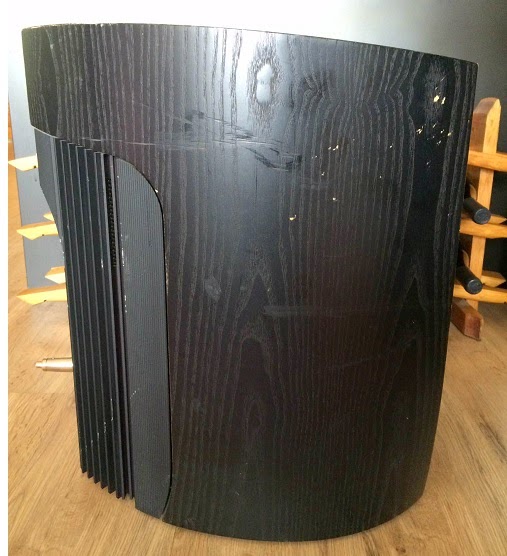
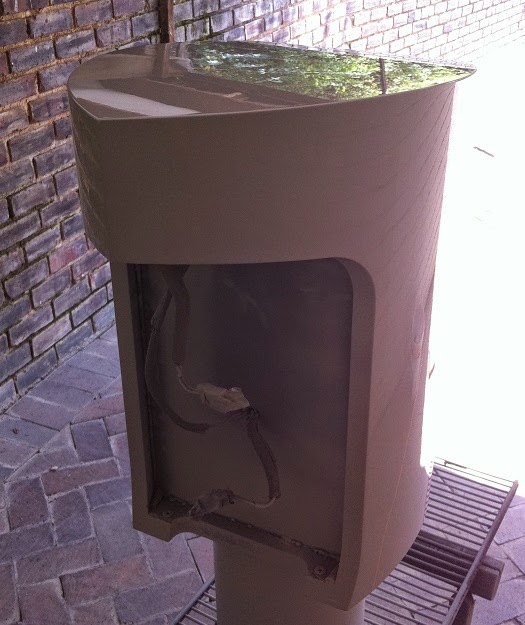
A customer of mine asked me to refinish a set of Linn Aktiv speakers he purchased second-hand. The speakers had seen some abuse and heavy-handed treatment. One of them even had severe water damage on the top edge.
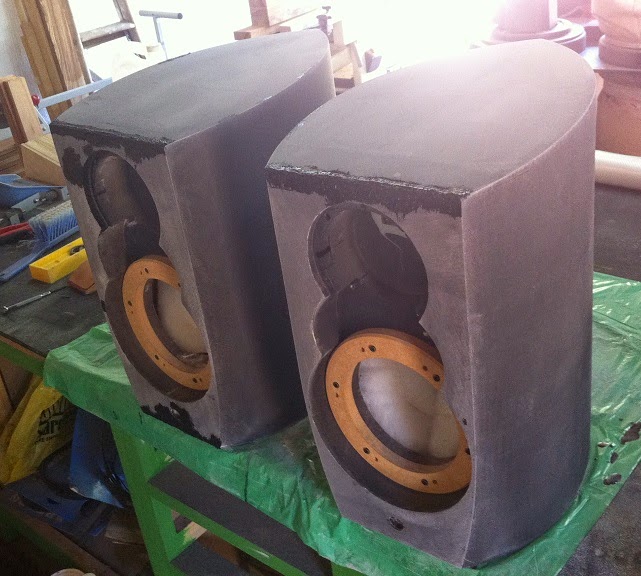
This is what the speakers looked like when I took delivery:
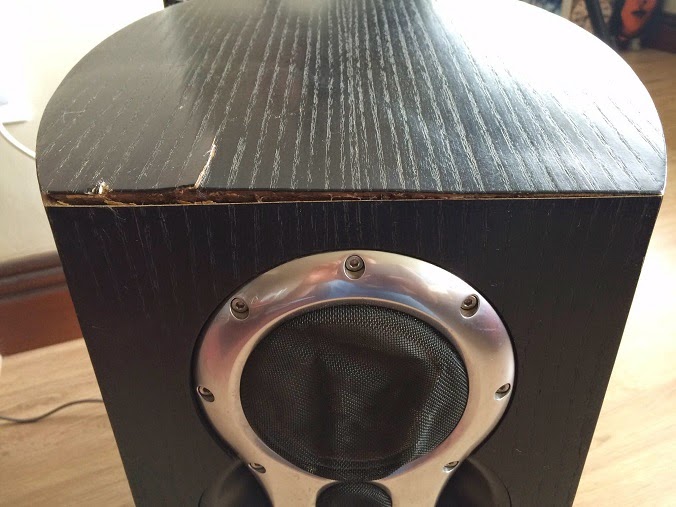
Here you can see the water damage - the wood had swolen and split the joint. What you see there isn't just the veneer pulling away from the base - it's actually the top panel pulling away from the baffle!
To make it worse, someone had tried to fix it using contact adhesive. What are these people smoking ??? This obviously made my job harder because contact adhesive is a really poor surface to apply adhesives to, so all of it needed to be cleaned out. You will also notice the dented grilles. I think the speakers were placed face-down.
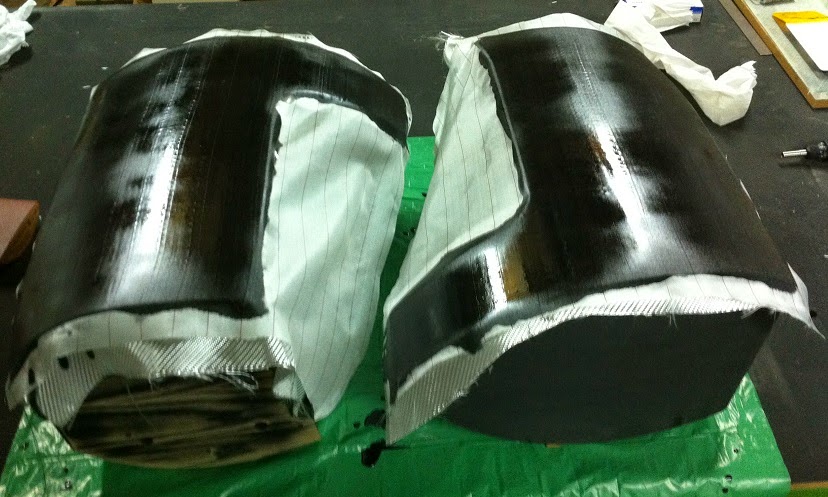
Lots and lots of filling with expoxy based filler and sanding later, I had the water damaged speaker structurally sound. I then sanded the veneer down completely in order to get through the black stain / paint finish and expose the wood fibres. After that, I applied some woven roven and laid it down with laminating epoxy. Here you can see the glass just before I applied the epoxy:

...in the process of curing:
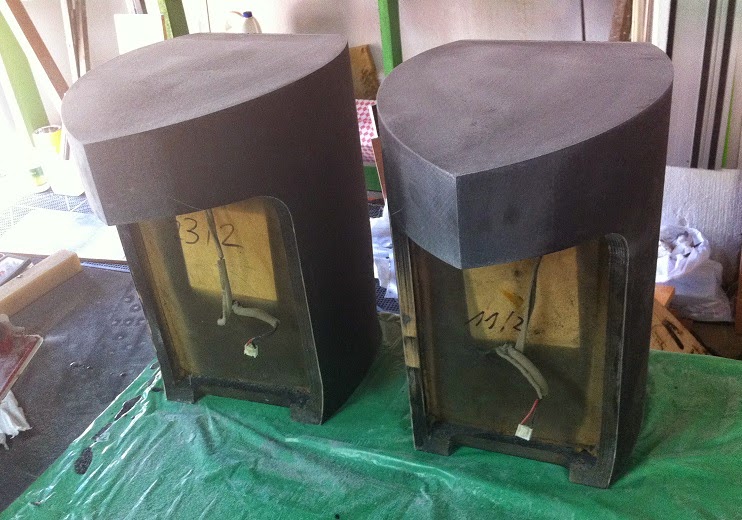
Trimmed down and some sanding later:
Application of epoxy fairing compound to fill in bits I wasn't happy with:
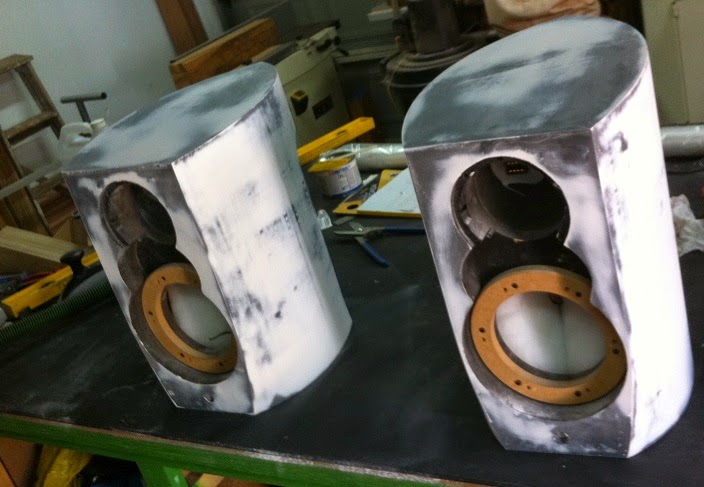
Followed by a skim coat of filler:

...Much sanding later:
First coat of 2K HS primer applied:
Spot putty applied to fill in the remaining pinholes and small imperfections:

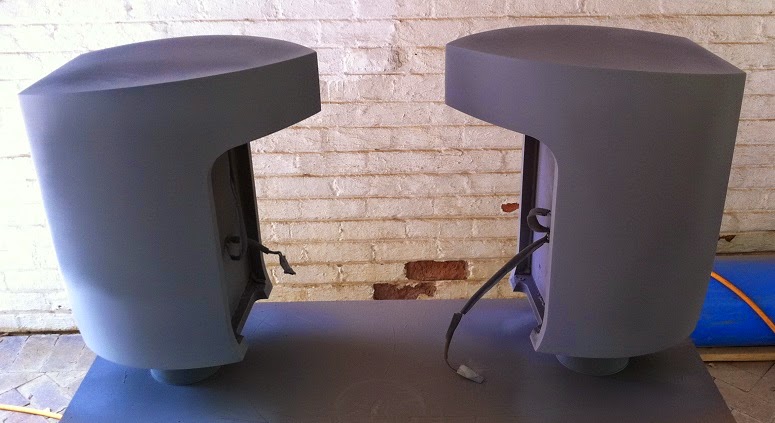
Second coat of 2K HS primer. This pic was taken with the primer just off the gun. It is shiny because it's still wet:

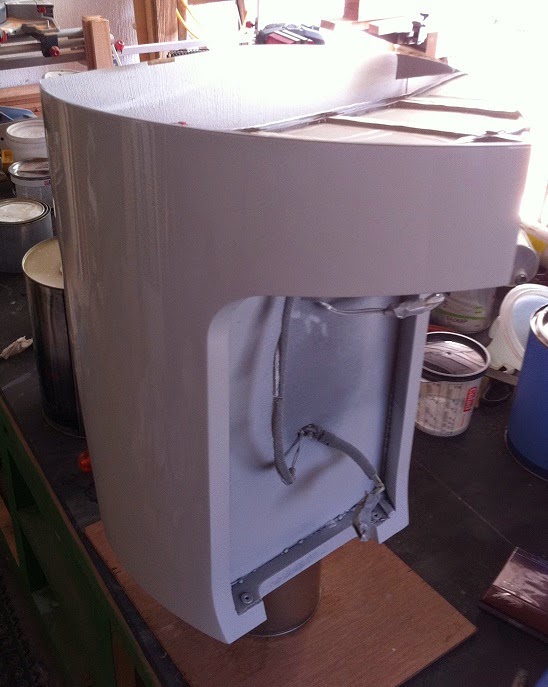
First coat of white base-coat applied:

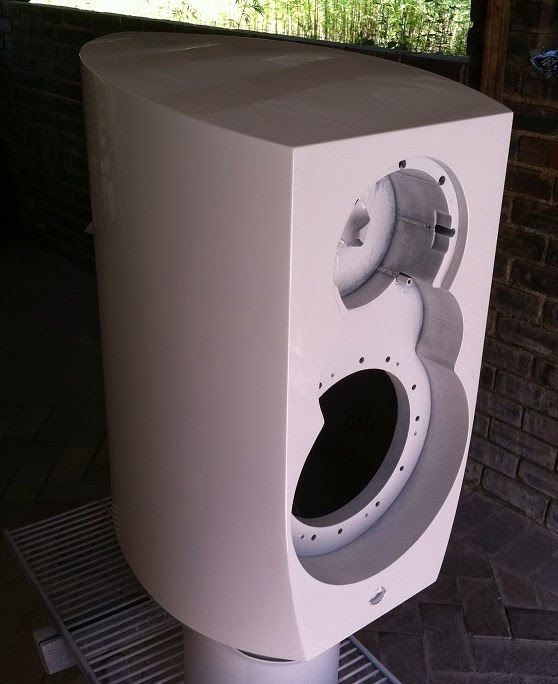
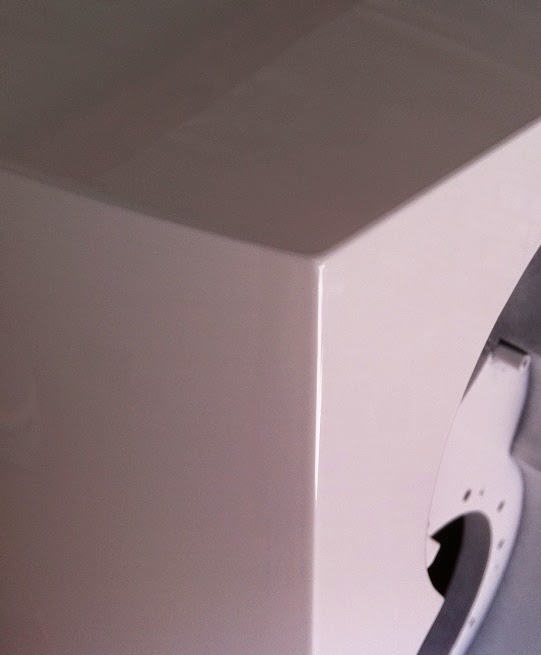
I let the base coat cure, then fixed two further minor blemishes, then water sanded that down. Repainted the base coat, then applied 2 coats of pearl, then applied 3 coats of clear (with a little pearl mixed in). This is the result as of this afternoon:

Next I will give the paint at least a week to cure, after which I can refit all the parts so they boys can make some music again :thumbs:
Kind Regards,
Ian.
A customer of mine asked me to refinish a set of Linn Aktiv speakers he purchased second-hand. The speakers had seen some abuse and heavy-handed treatment. One of them even had severe water damage on the top edge.
This is what the speakers looked like when I took delivery:
Here you can see the water damage - the wood had swolen and split the joint. What you see there isn't just the veneer pulling away from the base - it's actually the top panel pulling away from the baffle!
To make it worse, someone had tried to fix it using contact adhesive. What are these people smoking ??? This obviously made my job harder because contact adhesive is a really poor surface to apply adhesives to, so all of it needed to be cleaned out. You will also notice the dented grilles. I think the speakers were placed face-down.
Lots and lots of filling with expoxy based filler and sanding later, I had the water damaged speaker structurally sound. I then sanded the veneer down completely in order to get through the black stain / paint finish and expose the wood fibres. After that, I applied some woven roven and laid it down with laminating epoxy. Here you can see the glass just before I applied the epoxy:
...in the process of curing:
Trimmed down and some sanding later:
Application of epoxy fairing compound to fill in bits I wasn't happy with:
Followed by a skim coat of filler:
...Much sanding later:
First coat of 2K HS primer applied:
Spot putty applied to fill in the remaining pinholes and small imperfections:
Second coat of 2K HS primer. This pic was taken with the primer just off the gun. It is shiny because it's still wet:
First coat of white base-coat applied:
I let the base coat cure, then fixed two further minor blemishes, then water sanded that down. Repainted the base coat, then applied 2 coats of pearl, then applied 3 coats of clear (with a little pearl mixed in). This is the result as of this afternoon:
Next I will give the paint at least a week to cure, after which I can refit all the parts so they boys can make some music again :thumbs:
Kind Regards,
Ian.