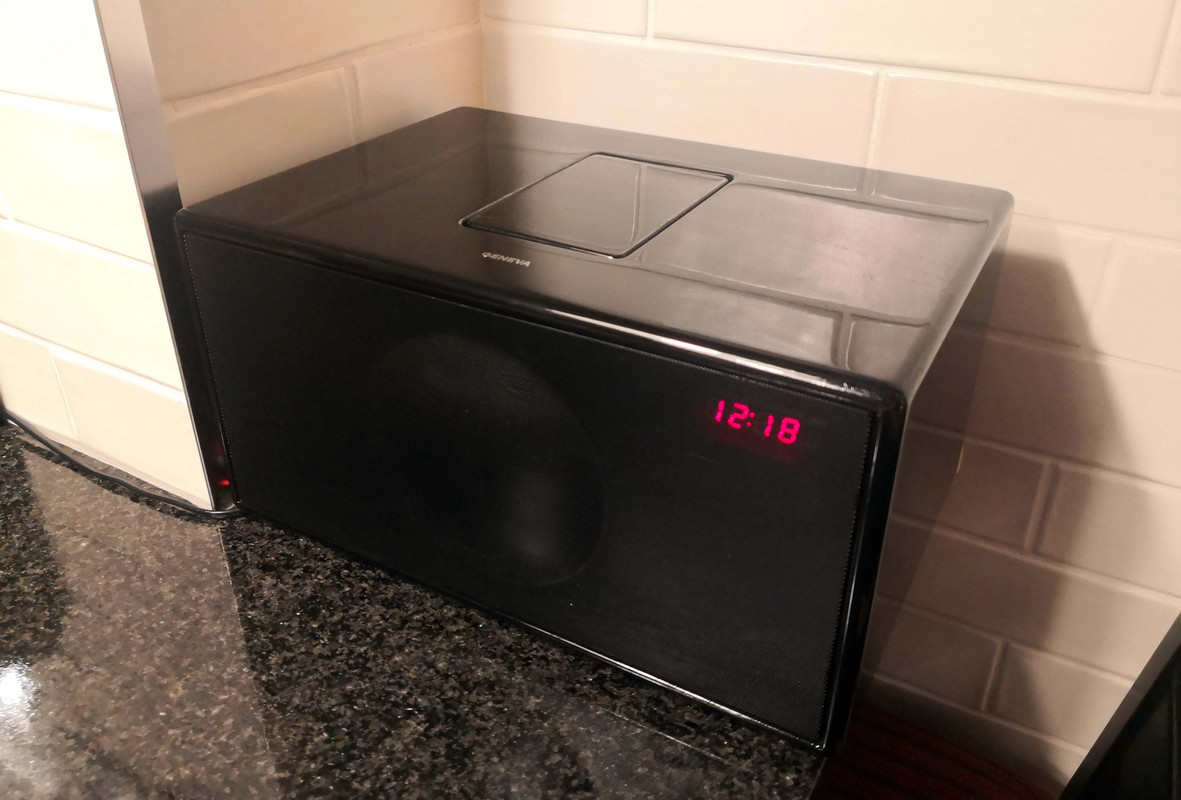
Something a bit simpler this time: adding a simple single-station radio streamer to a Geneva Model M radio. The Geneva is pretty awesome, with an active DSP crossover(!), two tweeters and ported woofers and and can play pretty darn impressively with meaty bass and good clarity.
This radio plays near-constantly during the working day to break the silence a bit, as well as when busy in the kitchen. It's used for one station only, Fine Music Radio, which happens to have low signal strength in some areas. Added to the horrendous tuner used by Geneva (my litle Tivoli plays near-perfectly), and it results in annoying noise all the time which just got worse. I even designed & built a 2m folded dipole antenna, which did solve the problem but only when mounted in wholly impractical locations.
So, I decided to rather go the streaming route. Although of course there are plenty of apps out there and all sorts of cool stuff to link to Tidal accounts etc. I deliberately kept it simple to reduce resource usage (and booting time) and since this unit is used for a single purpose to play a single station. No GUIs, no buttons, no displays, no apps. Set & forget, once booted it will automatically link to the wifi access point and start streaming the FMR radio streaming cast. Of course it's easy to just SSH into the Pi via wifi and change the station if really needed. I could have used an external streamer and an analog cable to the radio line-in, but I like my setup neat and tidy and didn't want extra boxes, signal or power cables running around.
So, we have the following:
1) Raspberry Pi Zero W: the second-cheapest Pi, with included wifi. Small, uses <1W power and not even R200.
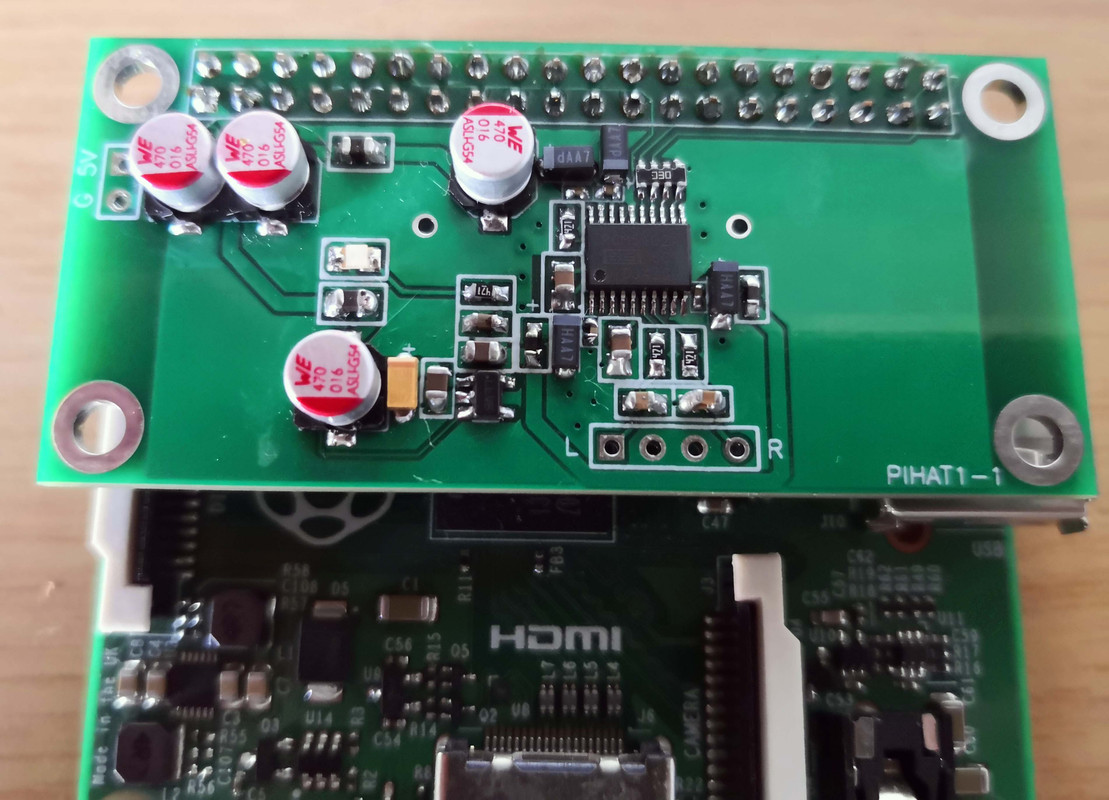
2) DIY soundcard. This is similar to a HifiBerry DAC+, but my own design. The HifiBerry was both out of stock and overly expensive to my liking, so I built my own with a few small refinements like improved power regulation and better quality capacitors. It is still slave-clocked by the Pi though; adding local clocks would have been nice but completely overkill for the application.
Here's a pic of the soundcard mounted on the Pi:
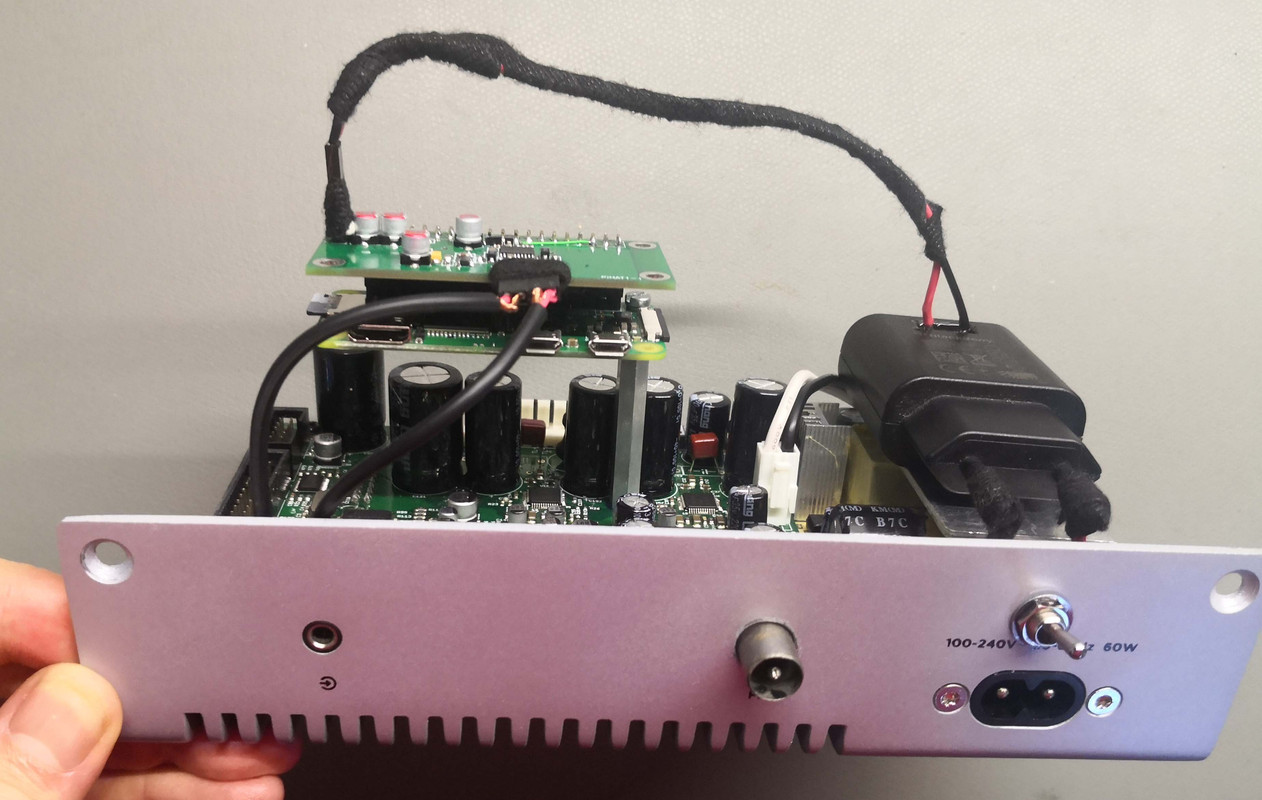
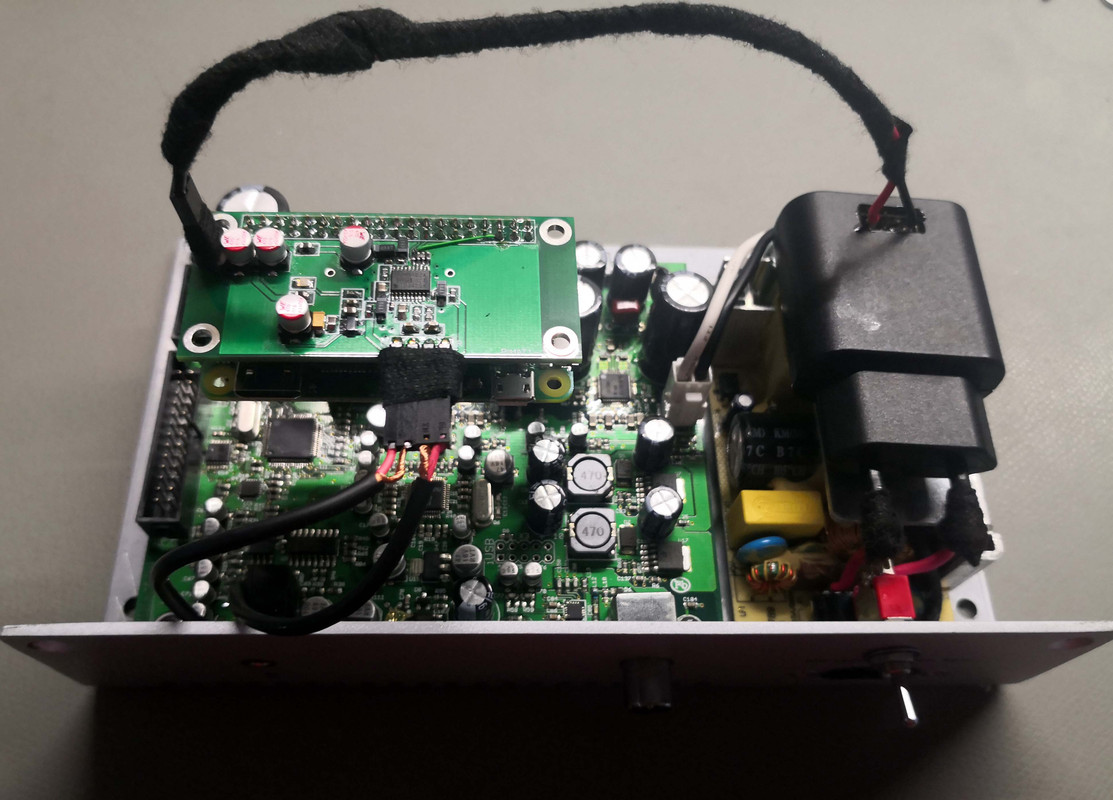
3) Original intention was to use the native power supply of the radio, but that happened to be 24V and I need 5V, which would have required an expensive stepdown regulator. Far cheaper and better to avoid ground loops, was to rather hack up an old Blackberry charger to power the Pi. The charger got epoxied on top of the main PSU, its AC pins soldered & wrapped, and connected in parallel to the main AC input. A small hole got drilled in the back panel for the AC for a small toggle switch to allow turning off the Pi. This is to both save power but also save network bandwidth if needed since it automatically starts streaming once powered. Figuring out how the standby button turns on the unit to use that instead would have been fun to figure out but I have too many projects and this was just not worth it.
The line input signals got hijacked for the soundcard output, so the line-in is no longer usable (it essentially is now a line output). The other inputs (FM & iPod) are both of course still active.
Mounting was easy; one of the mounting screws got replaced with a thick standoff and kept in place with spring washers and Loctite. Despite being only a single mounting point it's sturdier than it looks. The tall standoff was chosen to reduce crosstalk between the Pi and radio, likewise with the deliberate loop of the DC cable to the Pi since there was more than enough room in the cavity.
Here's a picture of the side of the amp & PSU module.
Another pic, from the top.
All done, back installed in the cavity.
Finished!
Results are exactly as planned. As OS I used DietPi, which uses less resources and can do what I need. It's scripted to automatically start streaming once booted, and time from poweron until audio plays is about 30s which is perfectly acceptable. It can definitely be reduced further, but not worth it really.
Quality is fantastic too, much better than radio even with the best antenna options, and of course no noise. No background hum or hiss either.
Overall time allocation:
Audio board design: 3h
Audio board assembly & test: 1h
Pi software: 8h (included all the usual stumbling blocks)
Mounting & wiring etc: 3h
Total cost: About R400
This radio plays near-constantly during the working day to break the silence a bit, as well as when busy in the kitchen. It's used for one station only, Fine Music Radio, which happens to have low signal strength in some areas. Added to the horrendous tuner used by Geneva (my litle Tivoli plays near-perfectly), and it results in annoying noise all the time which just got worse. I even designed & built a 2m folded dipole antenna, which did solve the problem but only when mounted in wholly impractical locations.
So, I decided to rather go the streaming route. Although of course there are plenty of apps out there and all sorts of cool stuff to link to Tidal accounts etc. I deliberately kept it simple to reduce resource usage (and booting time) and since this unit is used for a single purpose to play a single station. No GUIs, no buttons, no displays, no apps. Set & forget, once booted it will automatically link to the wifi access point and start streaming the FMR radio streaming cast. Of course it's easy to just SSH into the Pi via wifi and change the station if really needed. I could have used an external streamer and an analog cable to the radio line-in, but I like my setup neat and tidy and didn't want extra boxes, signal or power cables running around.
So, we have the following:
1) Raspberry Pi Zero W: the second-cheapest Pi, with included wifi. Small, uses <1W power and not even R200.
2) DIY soundcard. This is similar to a HifiBerry DAC+, but my own design. The HifiBerry was both out of stock and overly expensive to my liking, so I built my own with a few small refinements like improved power regulation and better quality capacitors. It is still slave-clocked by the Pi though; adding local clocks would have been nice but completely overkill for the application.
Here's a pic of the soundcard mounted on the Pi:
3) Original intention was to use the native power supply of the radio, but that happened to be 24V and I need 5V, which would have required an expensive stepdown regulator. Far cheaper and better to avoid ground loops, was to rather hack up an old Blackberry charger to power the Pi. The charger got epoxied on top of the main PSU, its AC pins soldered & wrapped, and connected in parallel to the main AC input. A small hole got drilled in the back panel for the AC for a small toggle switch to allow turning off the Pi. This is to both save power but also save network bandwidth if needed since it automatically starts streaming once powered. Figuring out how the standby button turns on the unit to use that instead would have been fun to figure out but I have too many projects and this was just not worth it.
The line input signals got hijacked for the soundcard output, so the line-in is no longer usable (it essentially is now a line output). The other inputs (FM & iPod) are both of course still active.
Mounting was easy; one of the mounting screws got replaced with a thick standoff and kept in place with spring washers and Loctite. Despite being only a single mounting point it's sturdier than it looks. The tall standoff was chosen to reduce crosstalk between the Pi and radio, likewise with the deliberate loop of the DC cable to the Pi since there was more than enough room in the cavity.
Here's a picture of the side of the amp & PSU module.
Another pic, from the top.
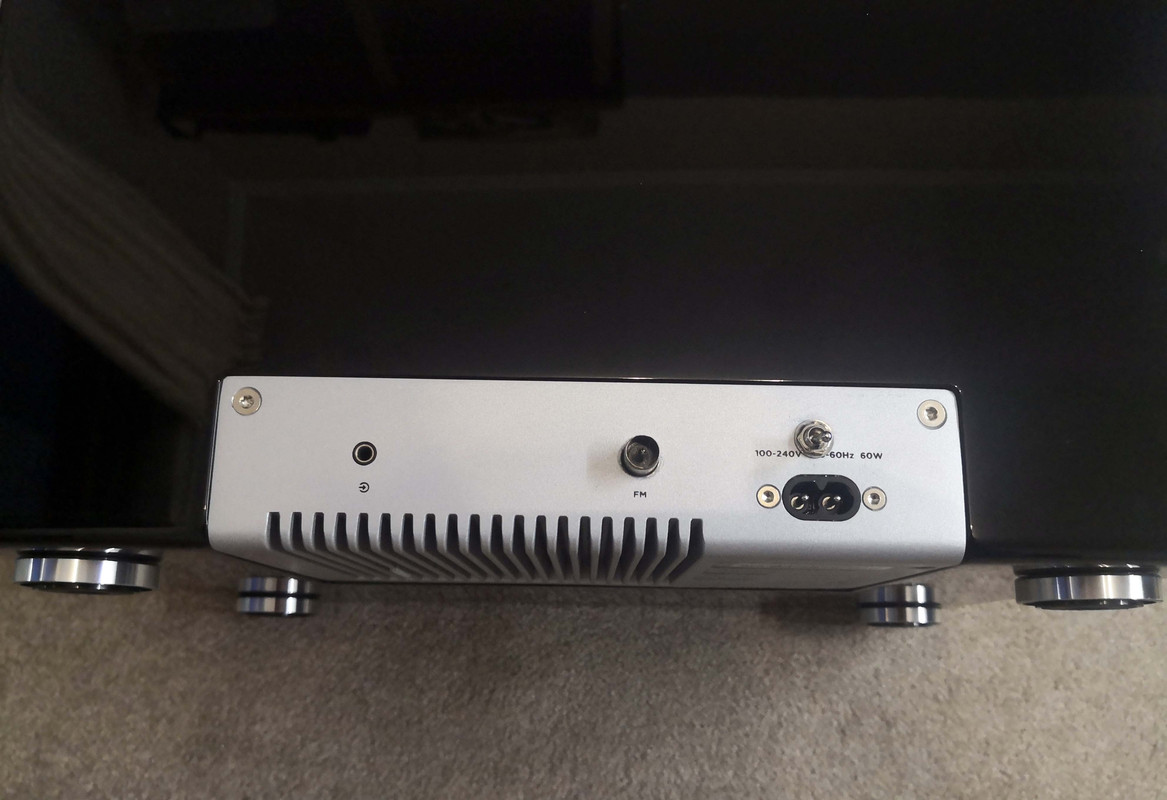
All done, back installed in the cavity.
Finished!
Results are exactly as planned. As OS I used DietPi, which uses less resources and can do what I need. It's scripted to automatically start streaming once booted, and time from poweron until audio plays is about 30s which is perfectly acceptable. It can definitely be reduced further, but not worth it really.
Quality is fantastic too, much better than radio even with the best antenna options, and of course no noise. No background hum or hiss either.
Overall time allocation:
Audio board design: 3h
Audio board assembly & test: 1h
Pi software: 8h (included all the usual stumbling blocks)
Mounting & wiring etc: 3h
Total cost: About R400