Sorry to drop this all in one go, not great at project diaries.
I decided to do this build because I had the drivers, and there were a few ideas I wanted to test. Tbh I've wanted to do a Zaph build for a while... and as a kid I had a deep desire to fly in an Sr-71 Blackbird, I know they are not related... but hey. These are for my bedroom, but the reality is that I tend to move my speakers quite a bit. I wanted a set of speakers where I could reconfigure the crossover on the fly with switches. Zaph has a bunch of configuration options for the SR71, so I built these into the crossover.
So things I wanted to test:
- Oracover as a replacement for paint or spray paint. - I would say this was a massive success for a gloss or matt finish. Iron and heat gun are critical, but I love this stuff. It is a million times easier than paint. You do need to make sure a surface is as well prepped as it would be for spray painting.
- New dampening options - 3M has some cool products for dampening.
- Testing Luxor light body filler - I don't know why I have been wary of this stuff because it's amazing to work with. I intend finishing all my builds with it before painting. You can also veneer over it.
- Veneering larger surfaces with PVA wood glue - I would say this was a semi success, I had a few bubbles that I had to worker, I should have gone for a bigger roundover, all in all though larger surface area's with PVA is possible and actually really easy. I used Tightbond original. Honestly though I'm not happy with the finish, and it's something I will revisit when my workshop is rebuilt. This is more a factor of the finishing method I used. A good finish takes time, and I didn't have any.
- Adjustable crossovers
- 3D printing baffle cover and using felt as a baffle diffuser. The 3D printed baffles are great, still haven't done enough listening with the felt on and off to form an opinion.
I'm building a workshop, so my current workspace was shrinking by the minute! That's why the spaces are so damn messy, and the speakers are still dirty, I had to move out of my temporary workspace on Sunday.
So standard build pics:
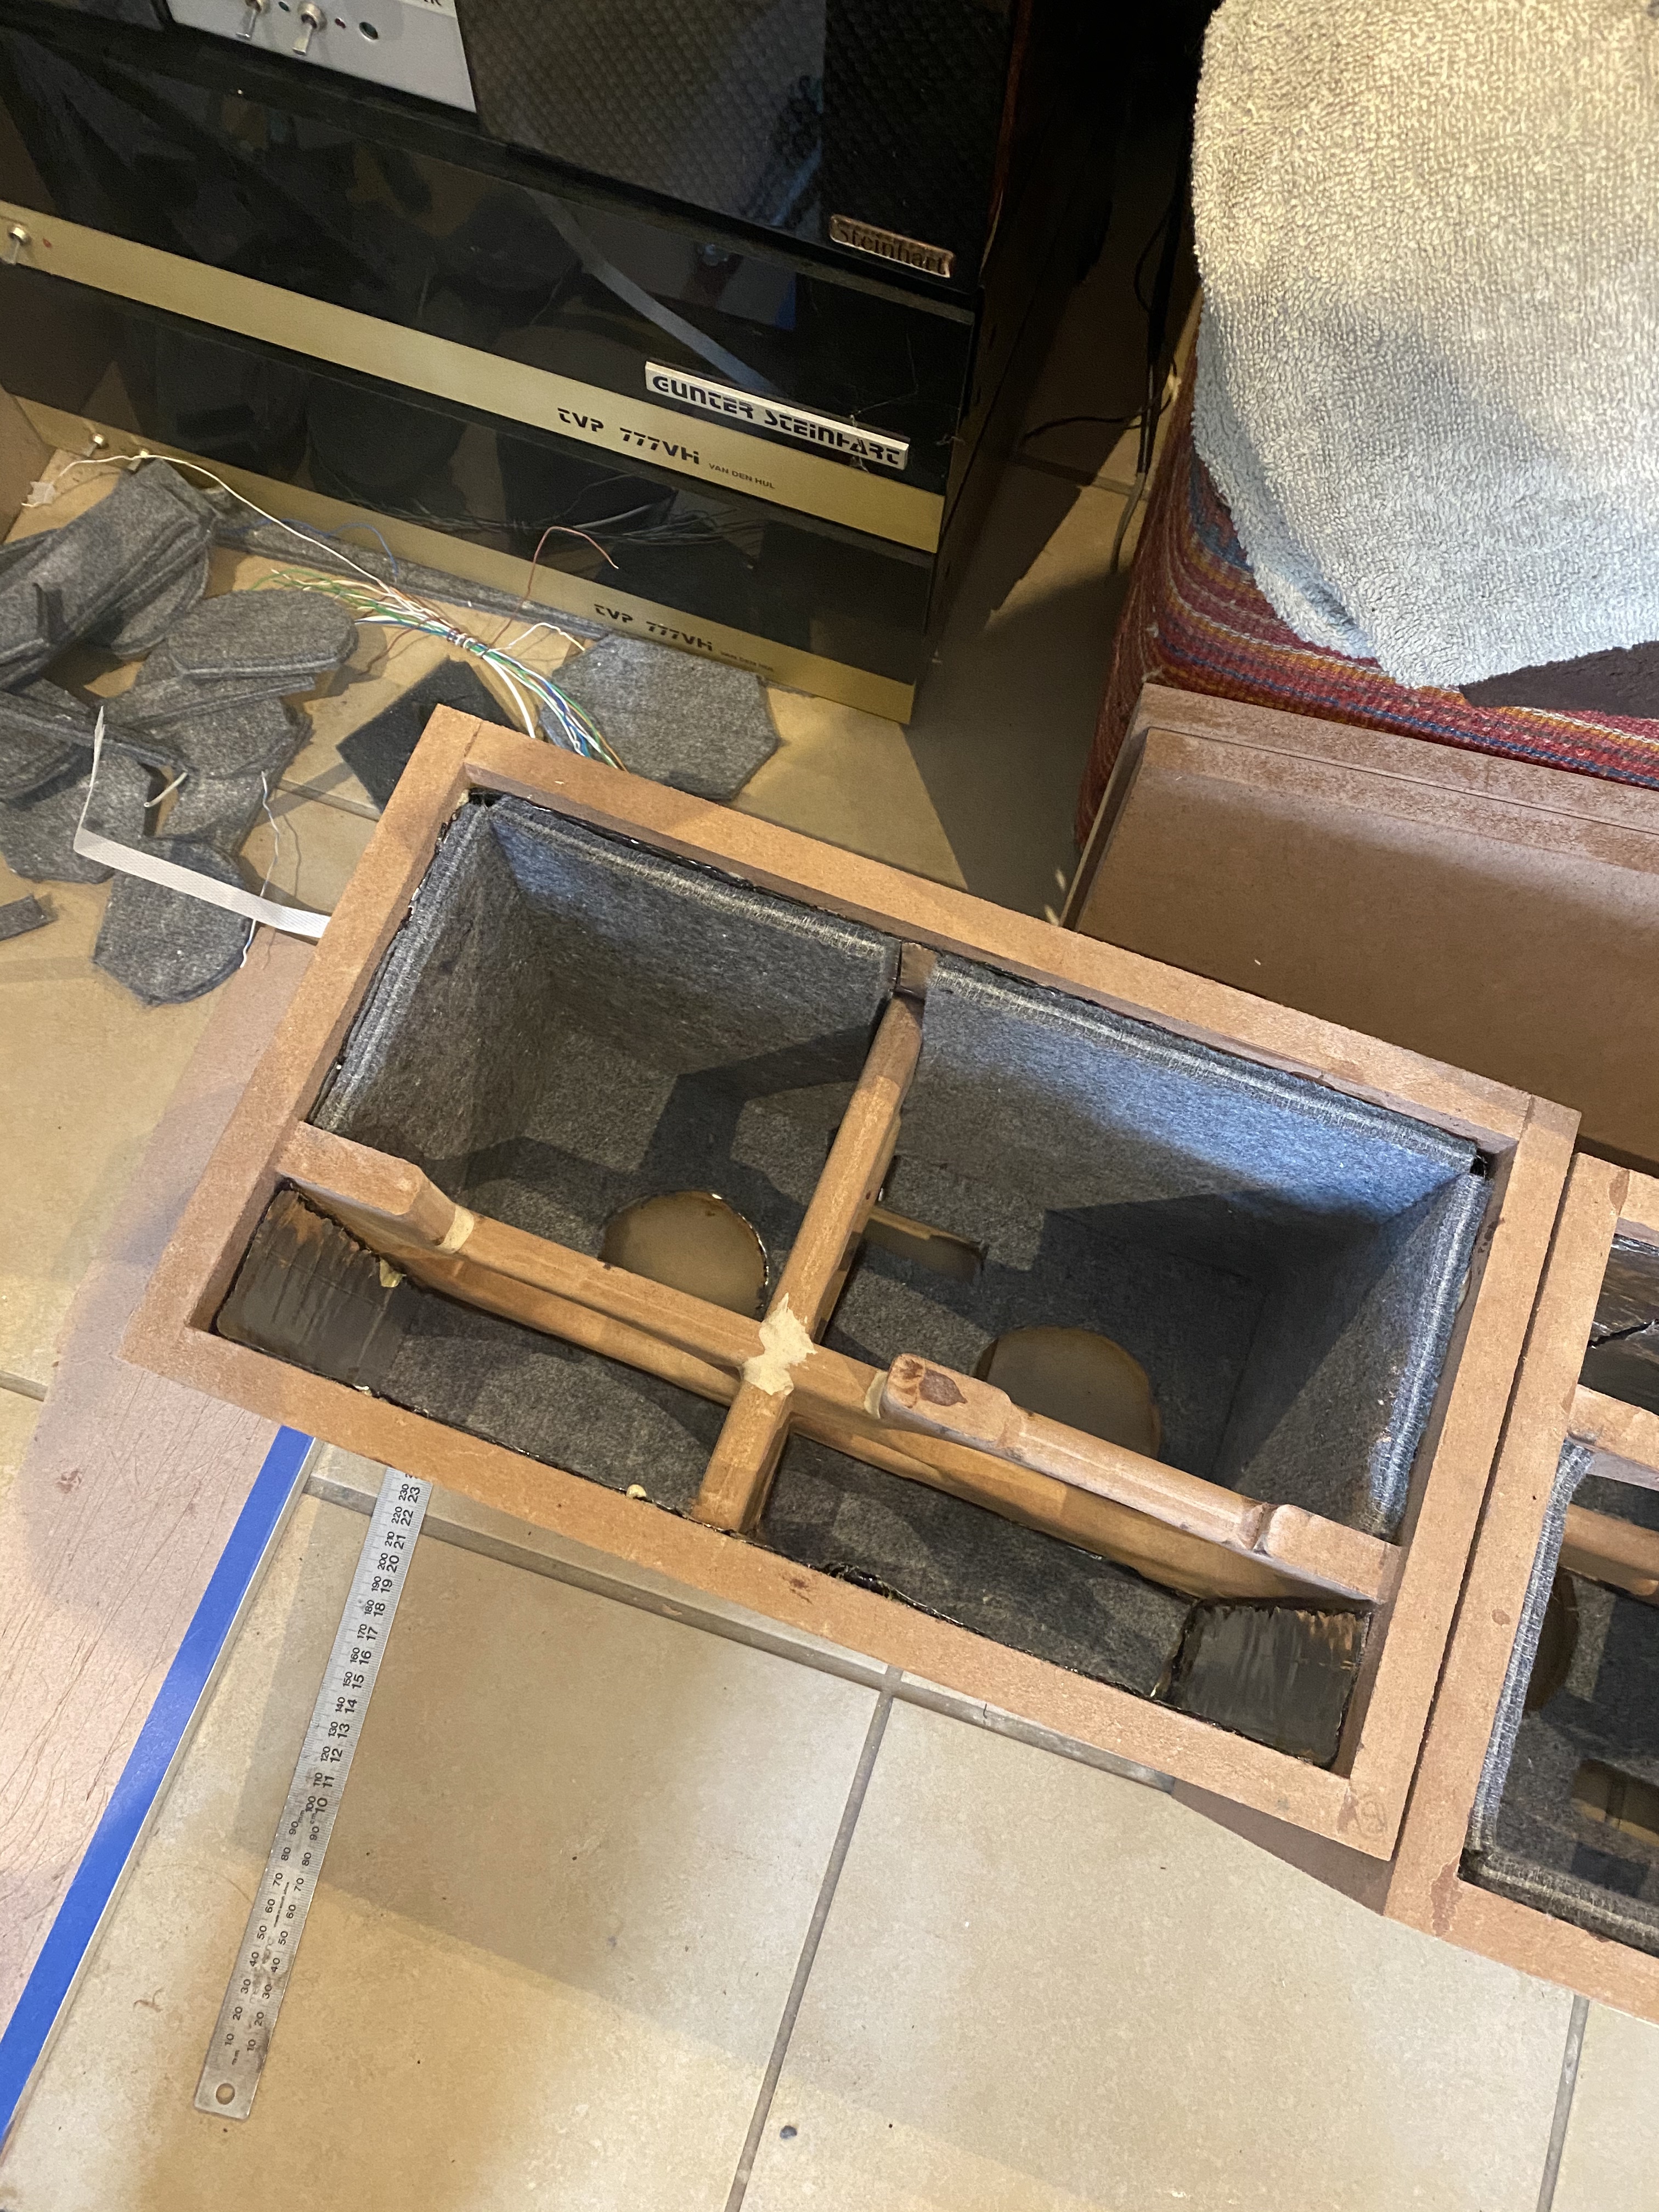
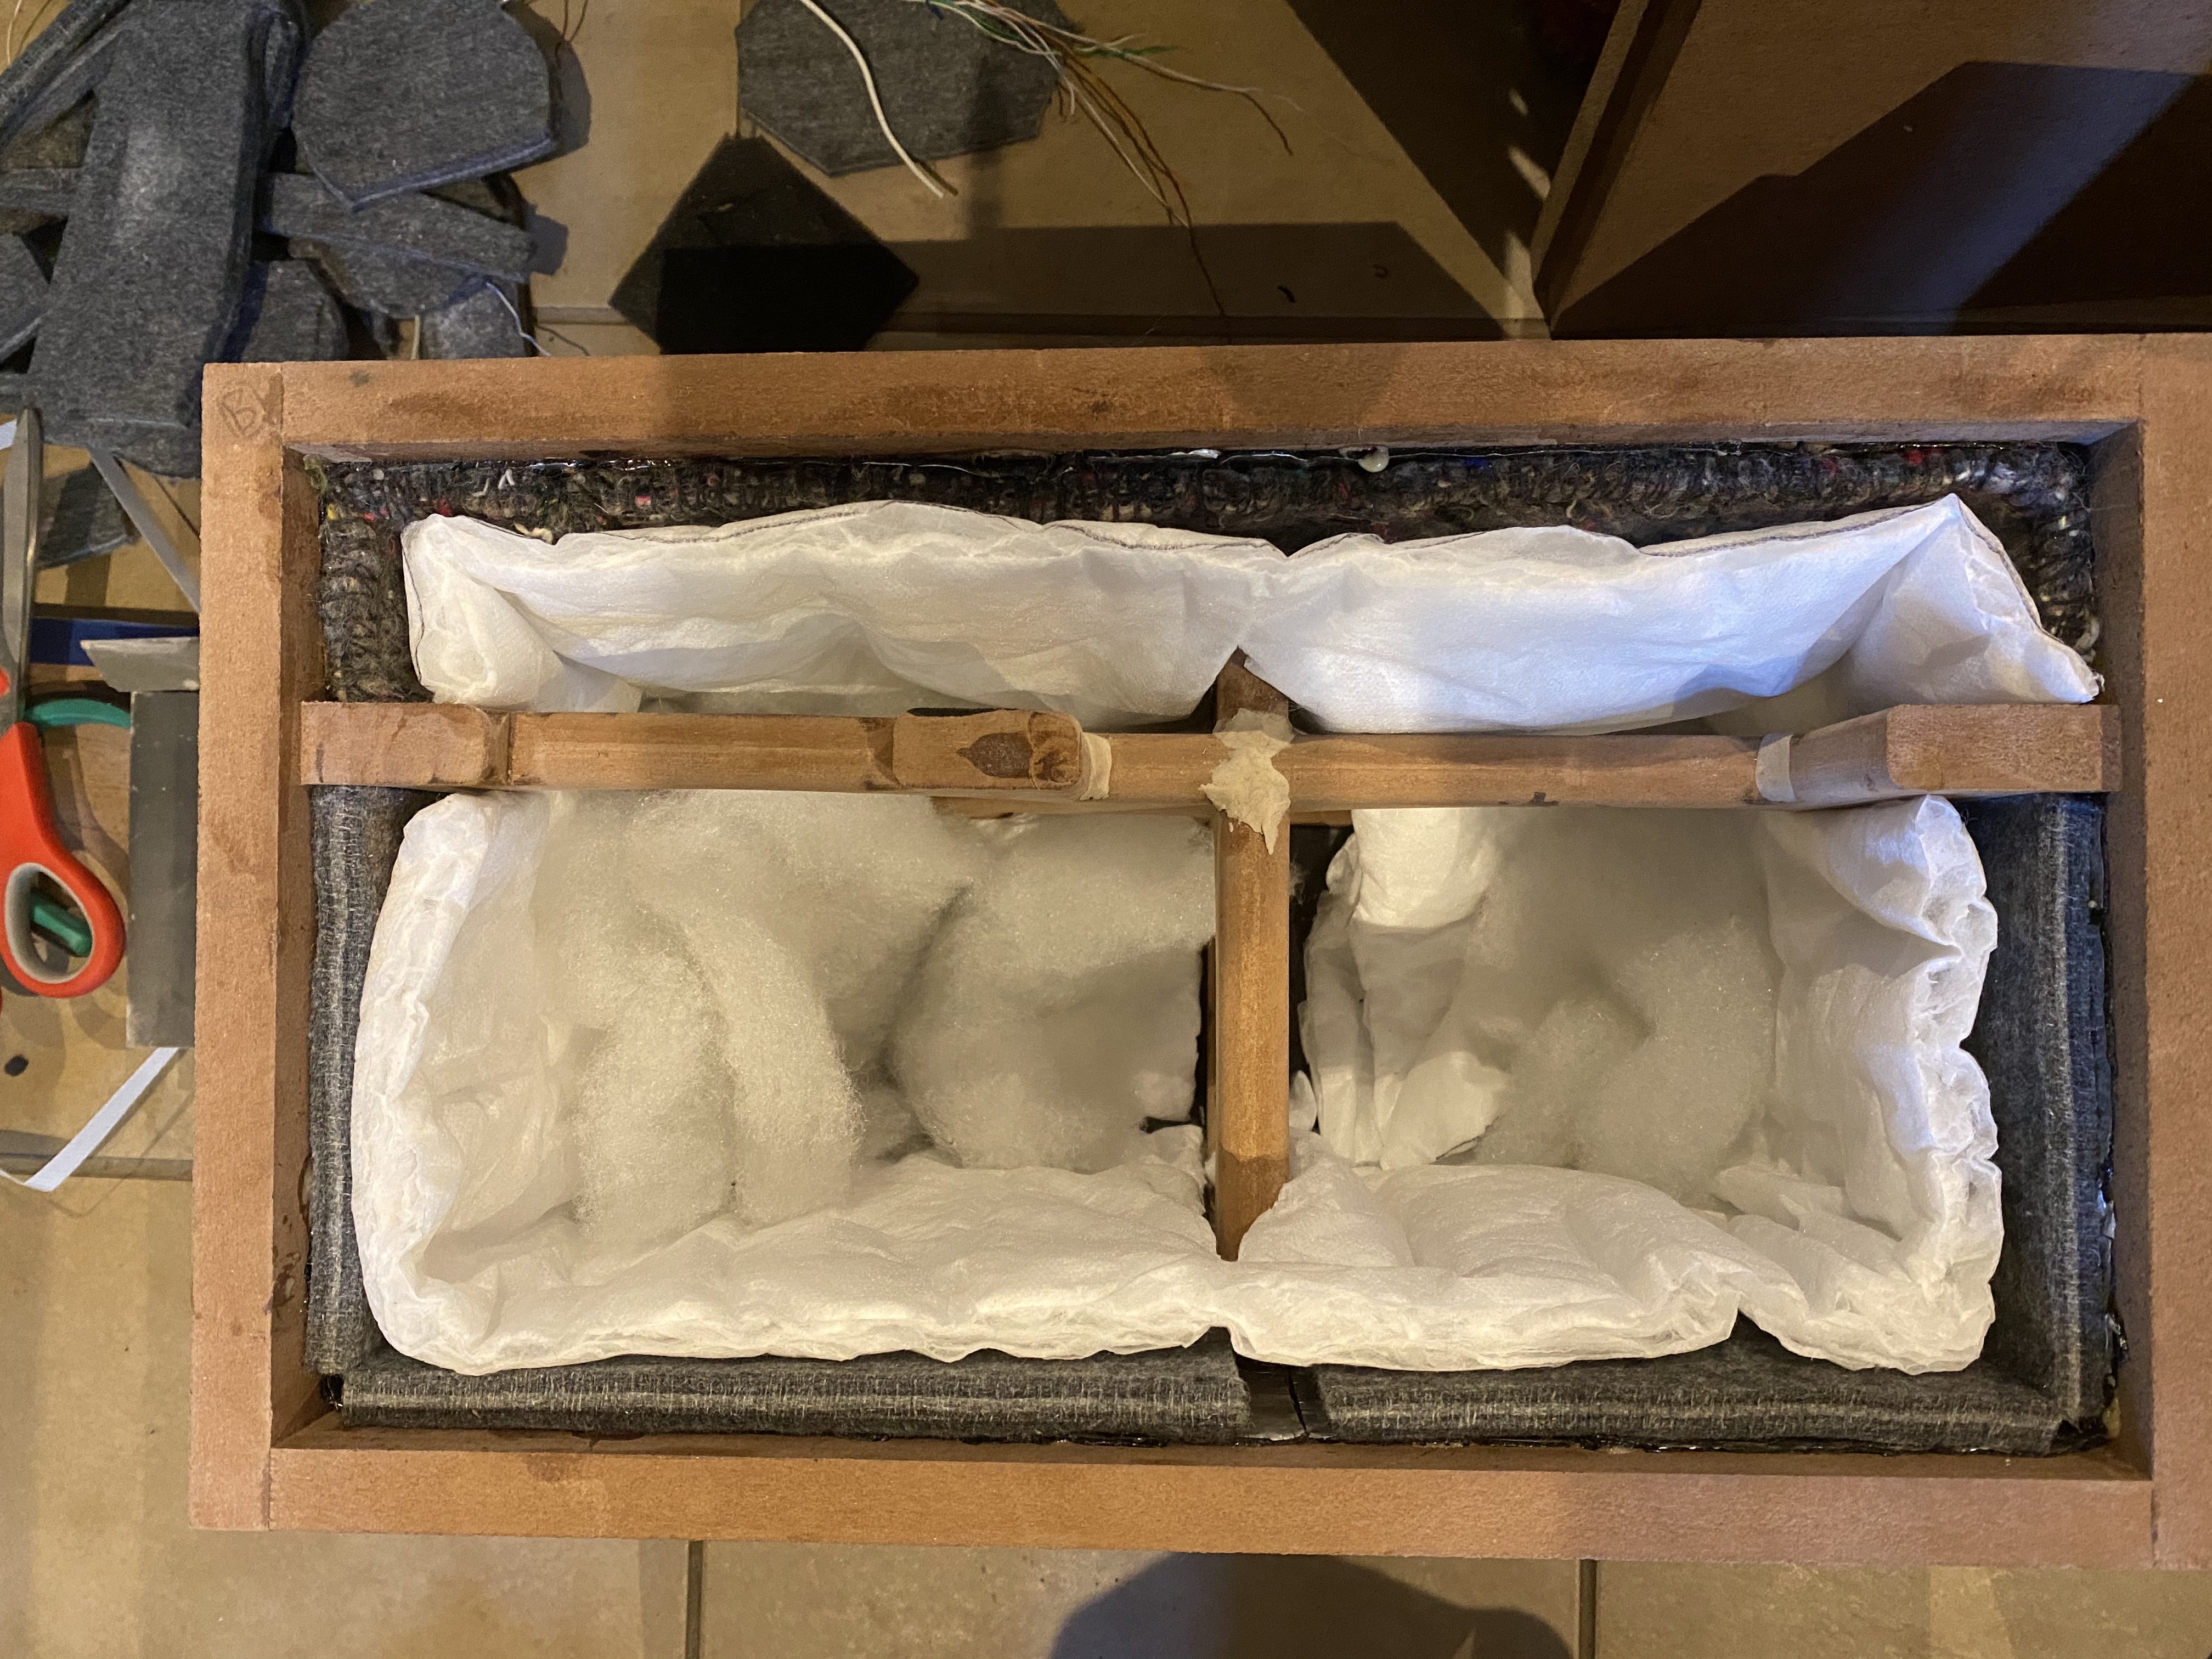
You can see the 3M dampening in one shot.
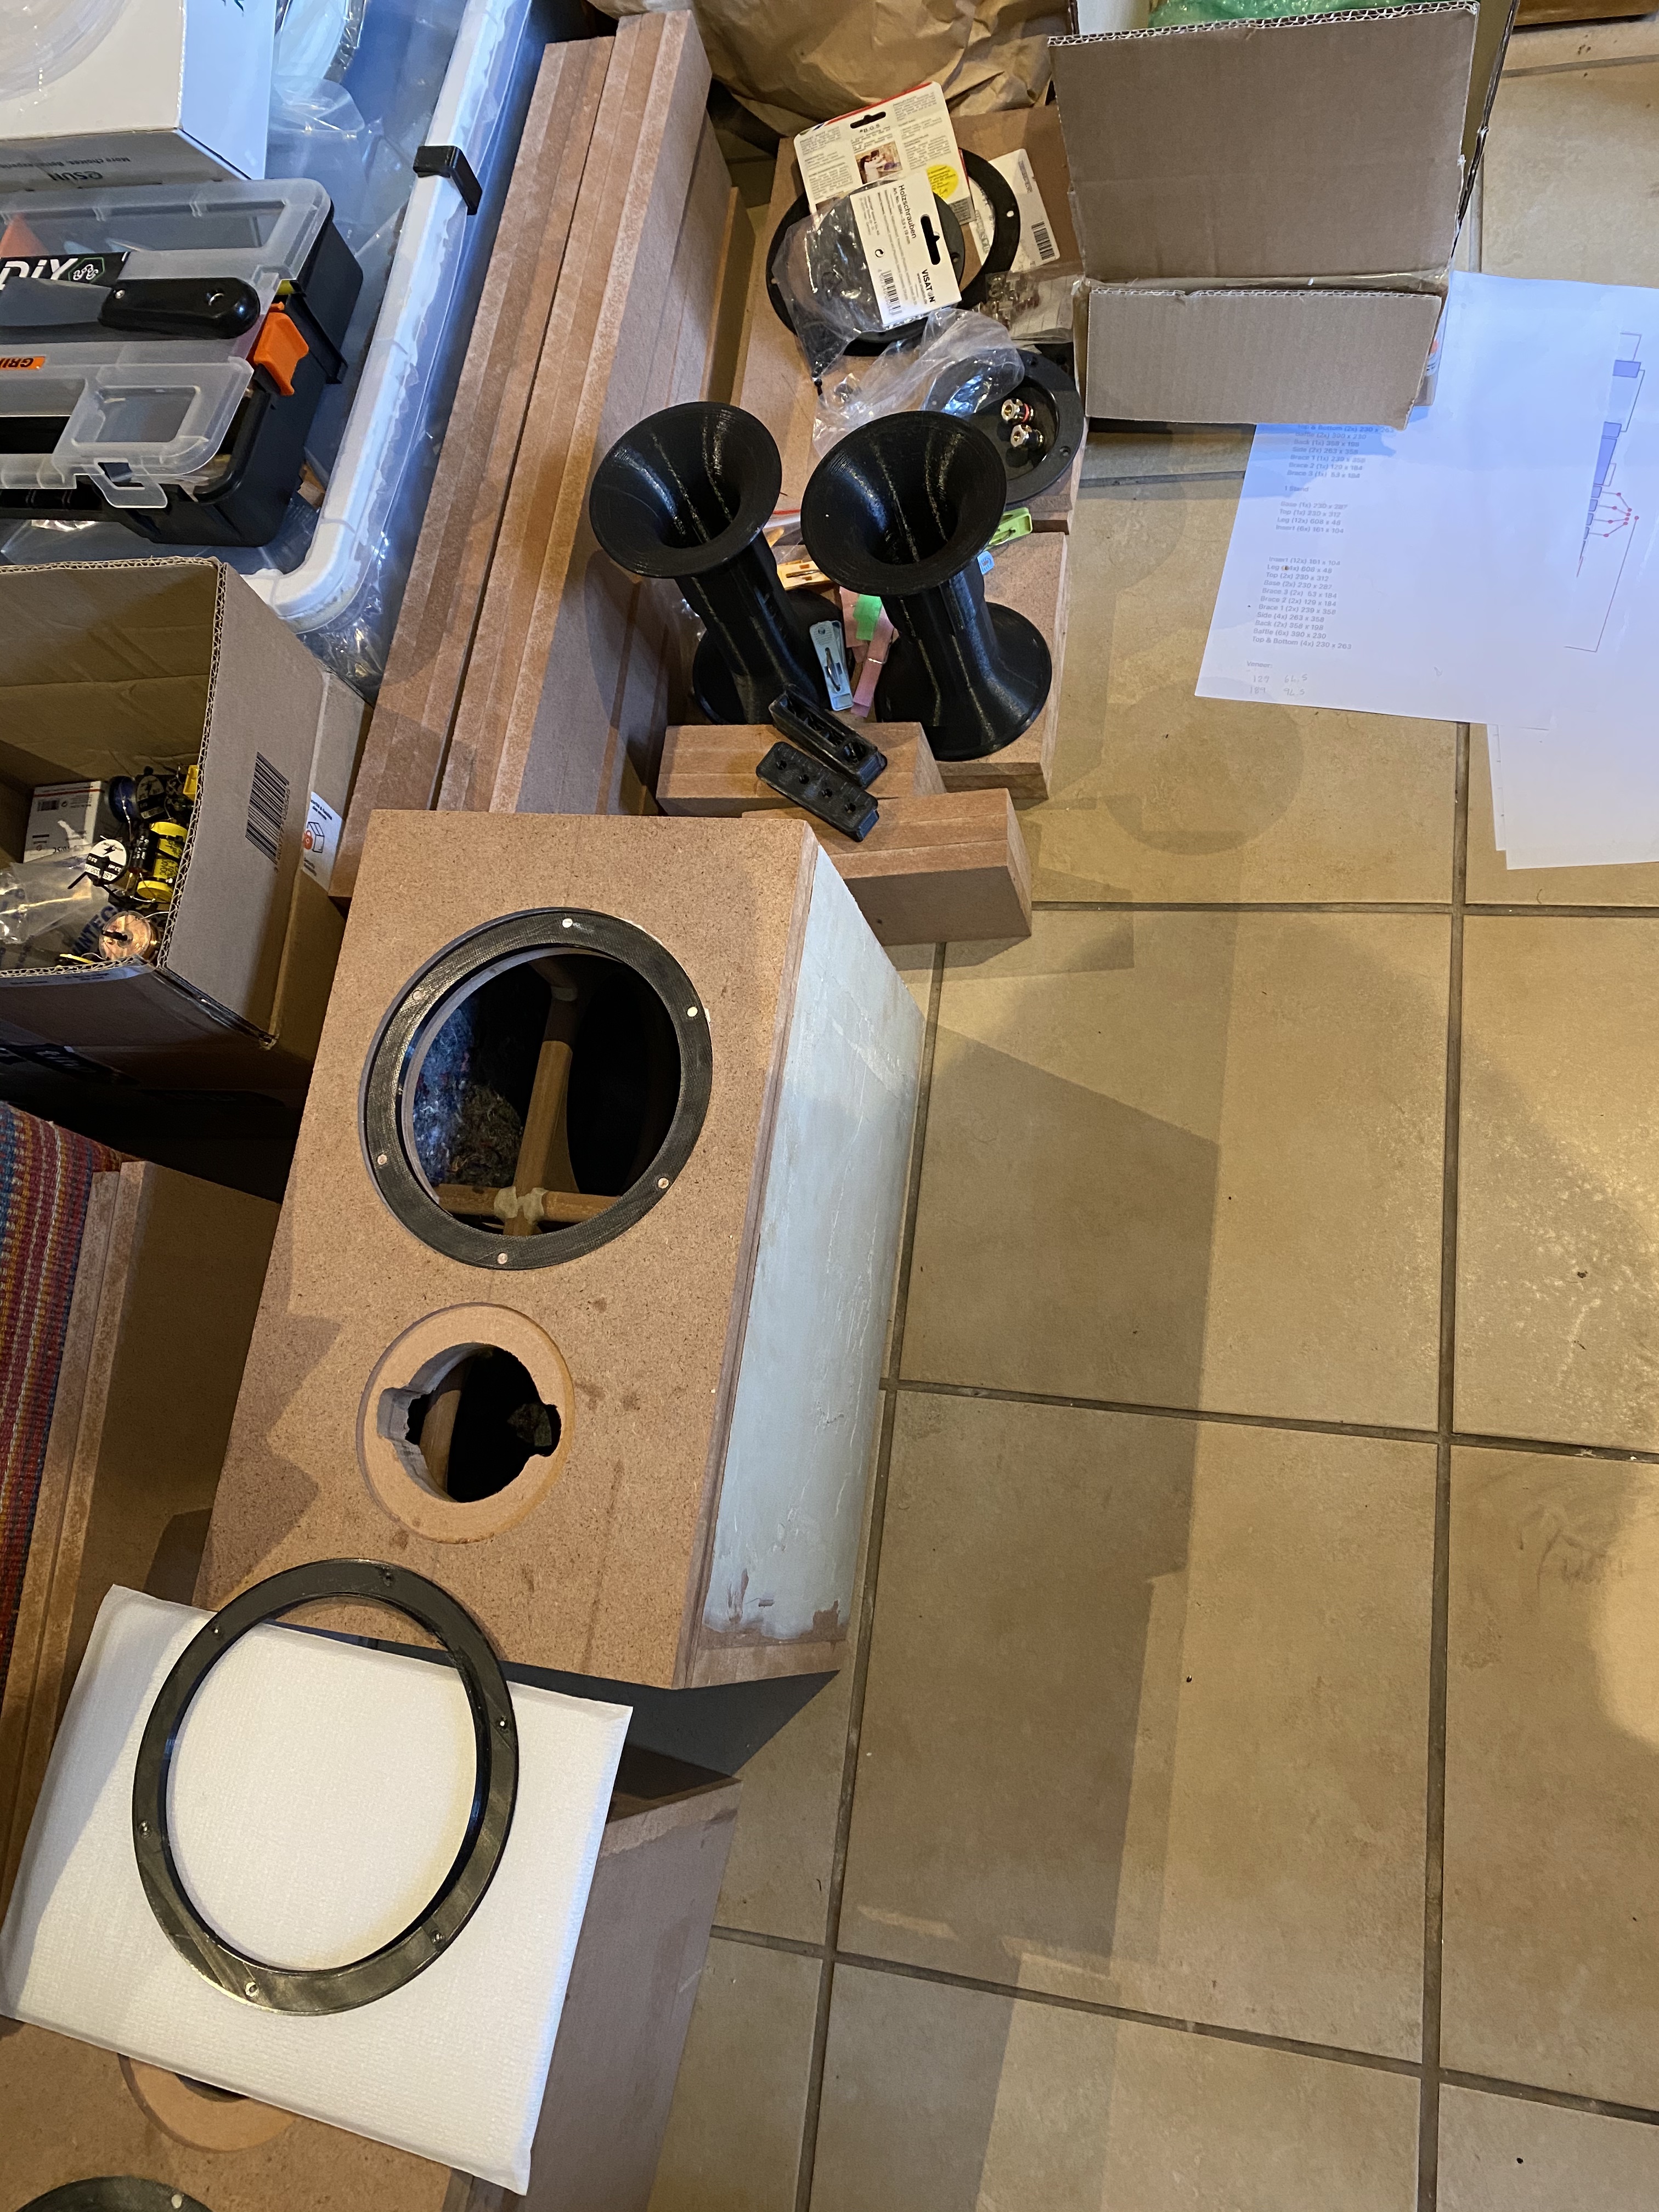
3d printed ports, I have the models for these in Fusion360 if anyone wants the models I am happy to share. Took a while to get the design right so for printing, you can also extend them easily..
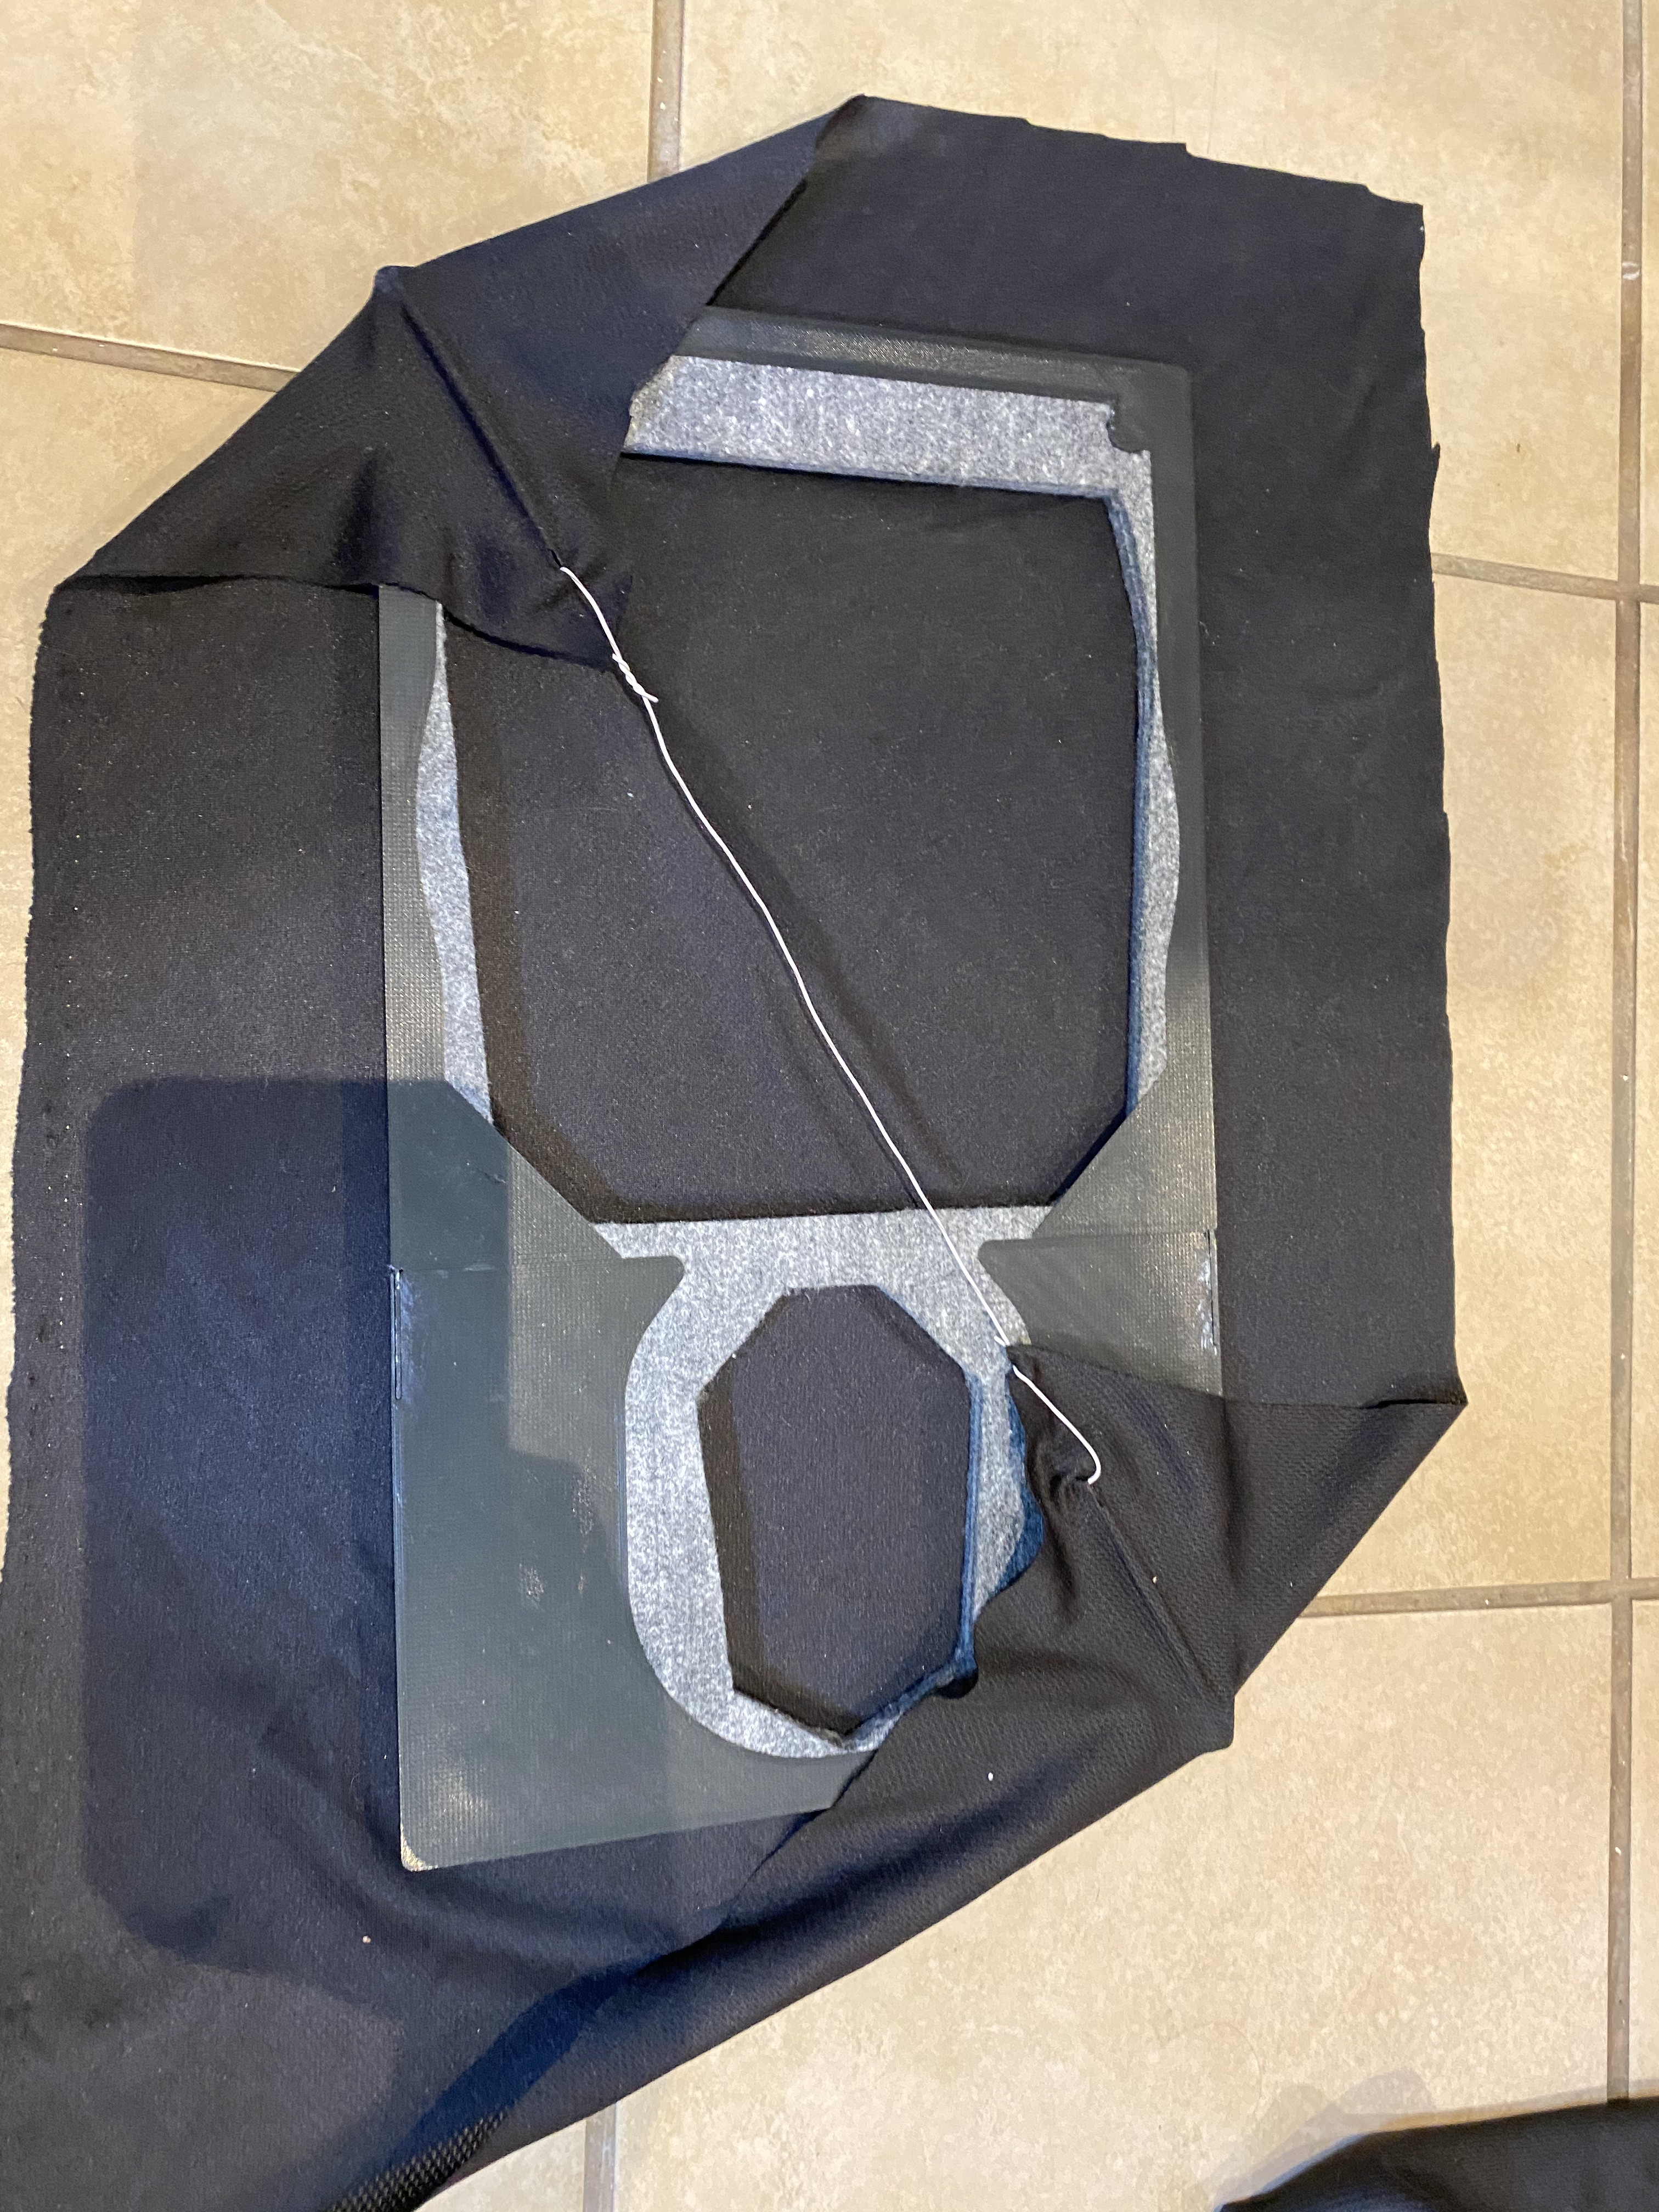
This is the baffle cover, so it's a 3D printed frame holding the felt. This frame fits into another frame for a clean finish, that's in the final pic.
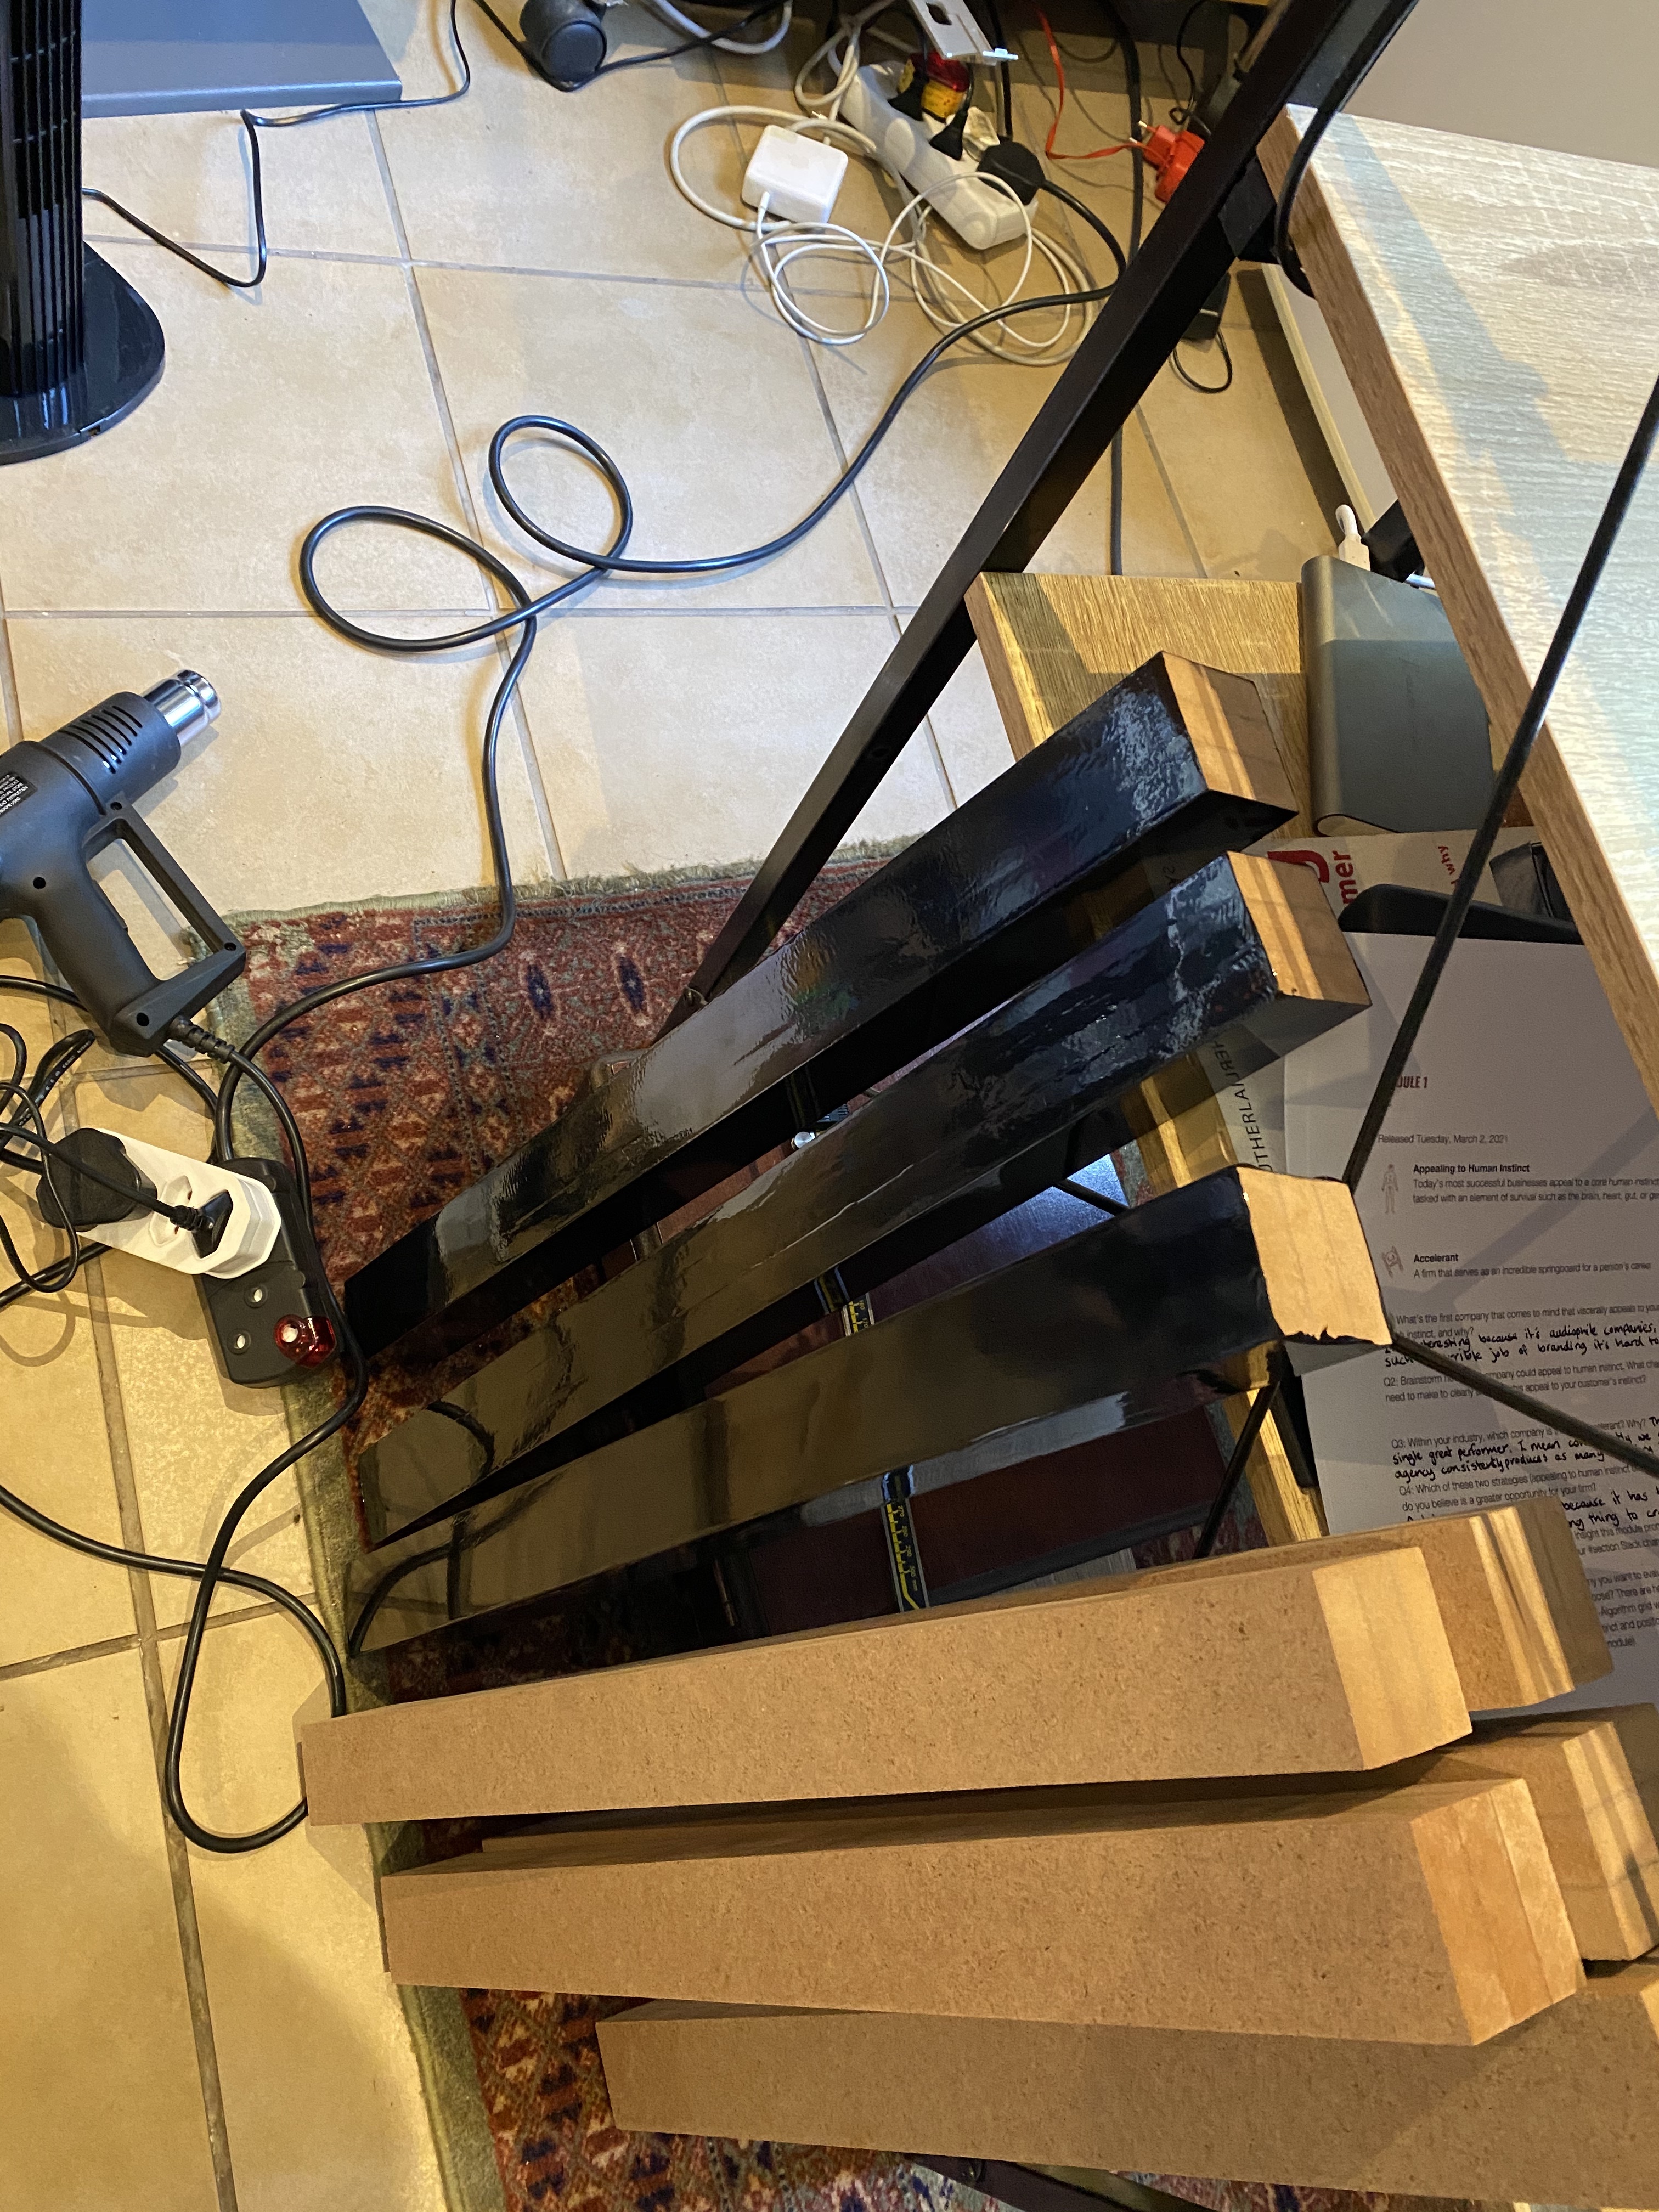
This is the Oracover on the stand legs. I didn't do a great job of smoothing the sides (mostly just running out of time), and you can see Oracover reveals that. The consistent Gloss finish is something I have never been able to accomplish with spraying.
That's the front baffle. On a nicely prepped surface the Oracover is magic. I know... not a rounded baffle, but it was a design choice.

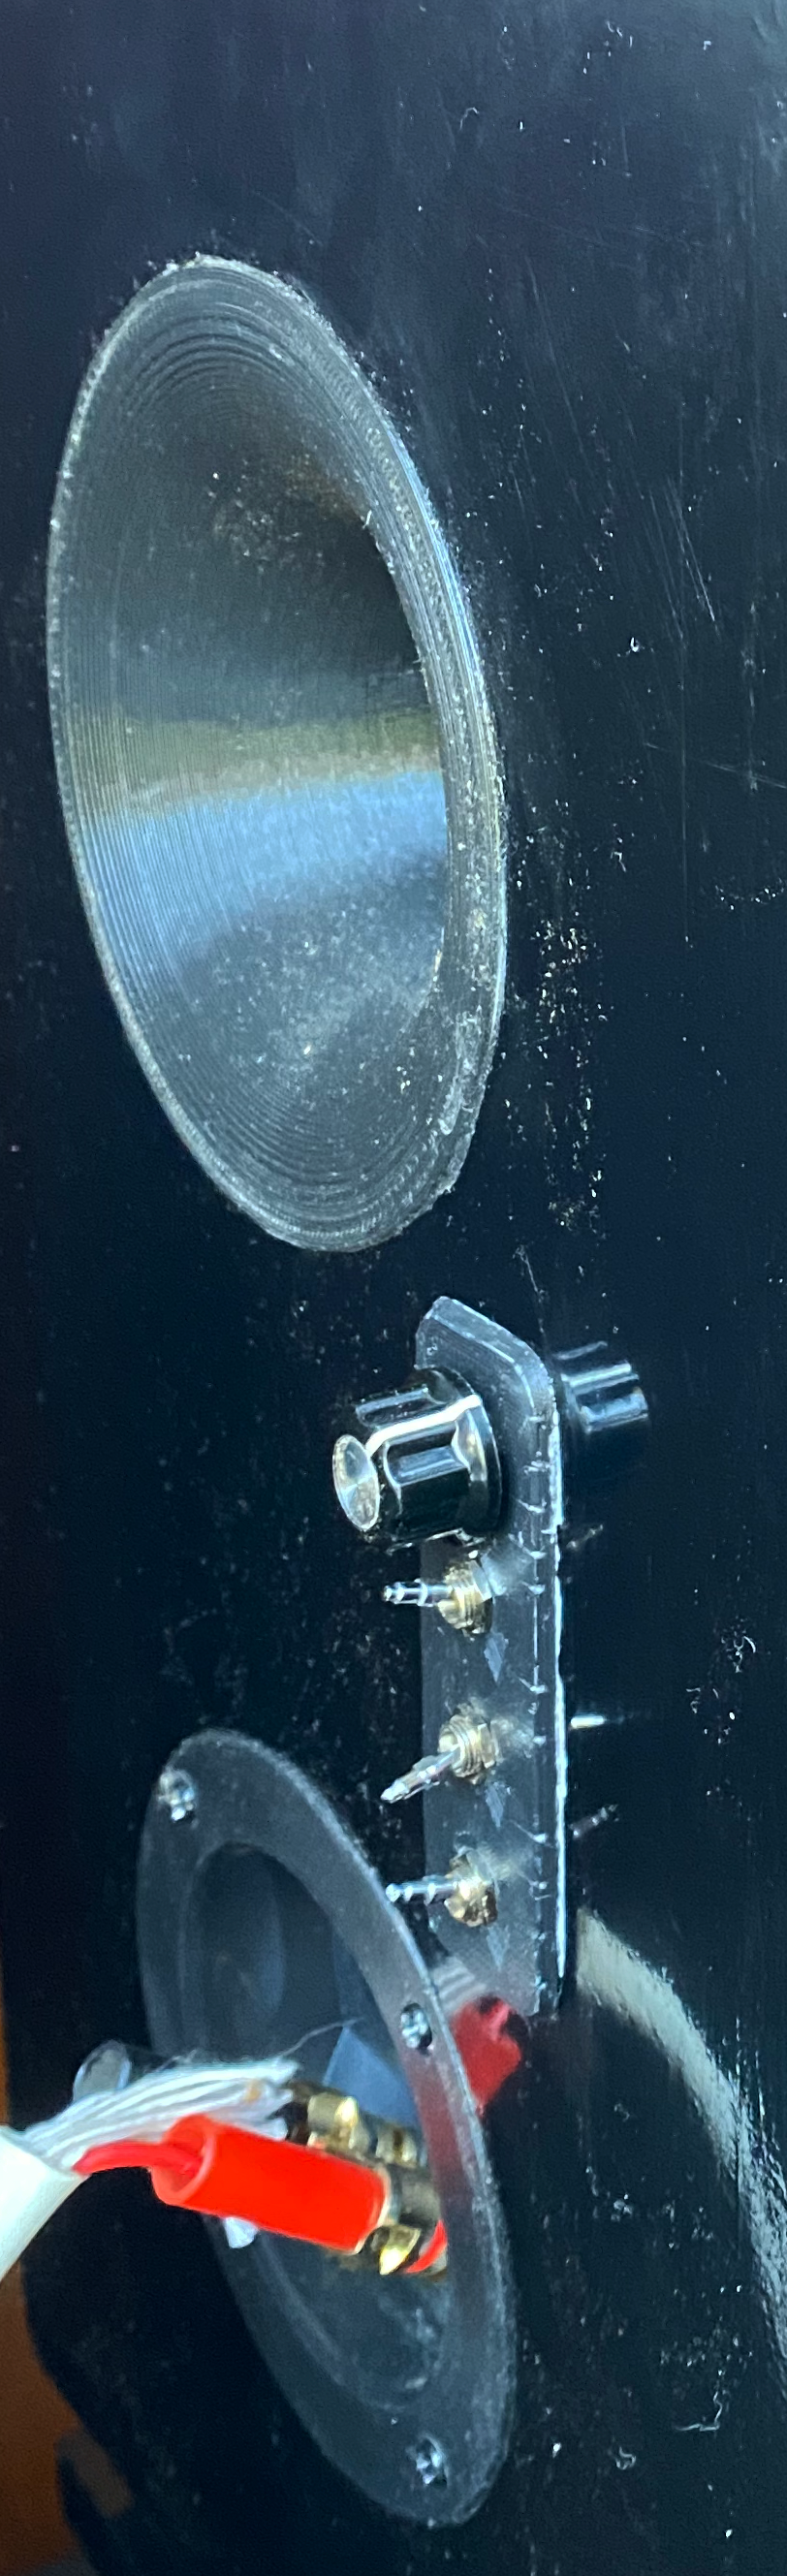
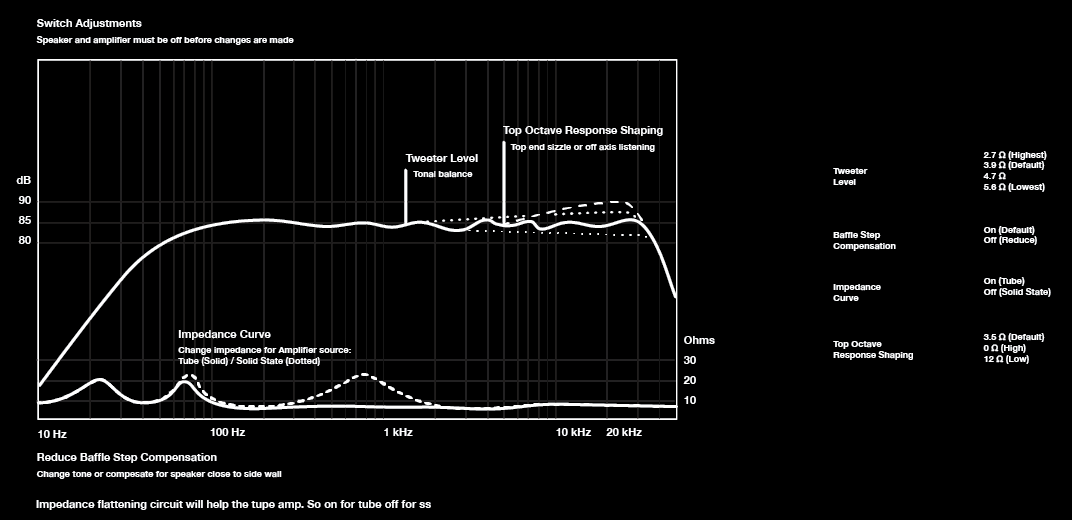
This is the switch plate (Still have to clean it up, and I misplaced the damn toggle covers!), it basically allows the configurations shown in the black sticker diagram below.
That's an illustration for a sticker I am going to get printed.
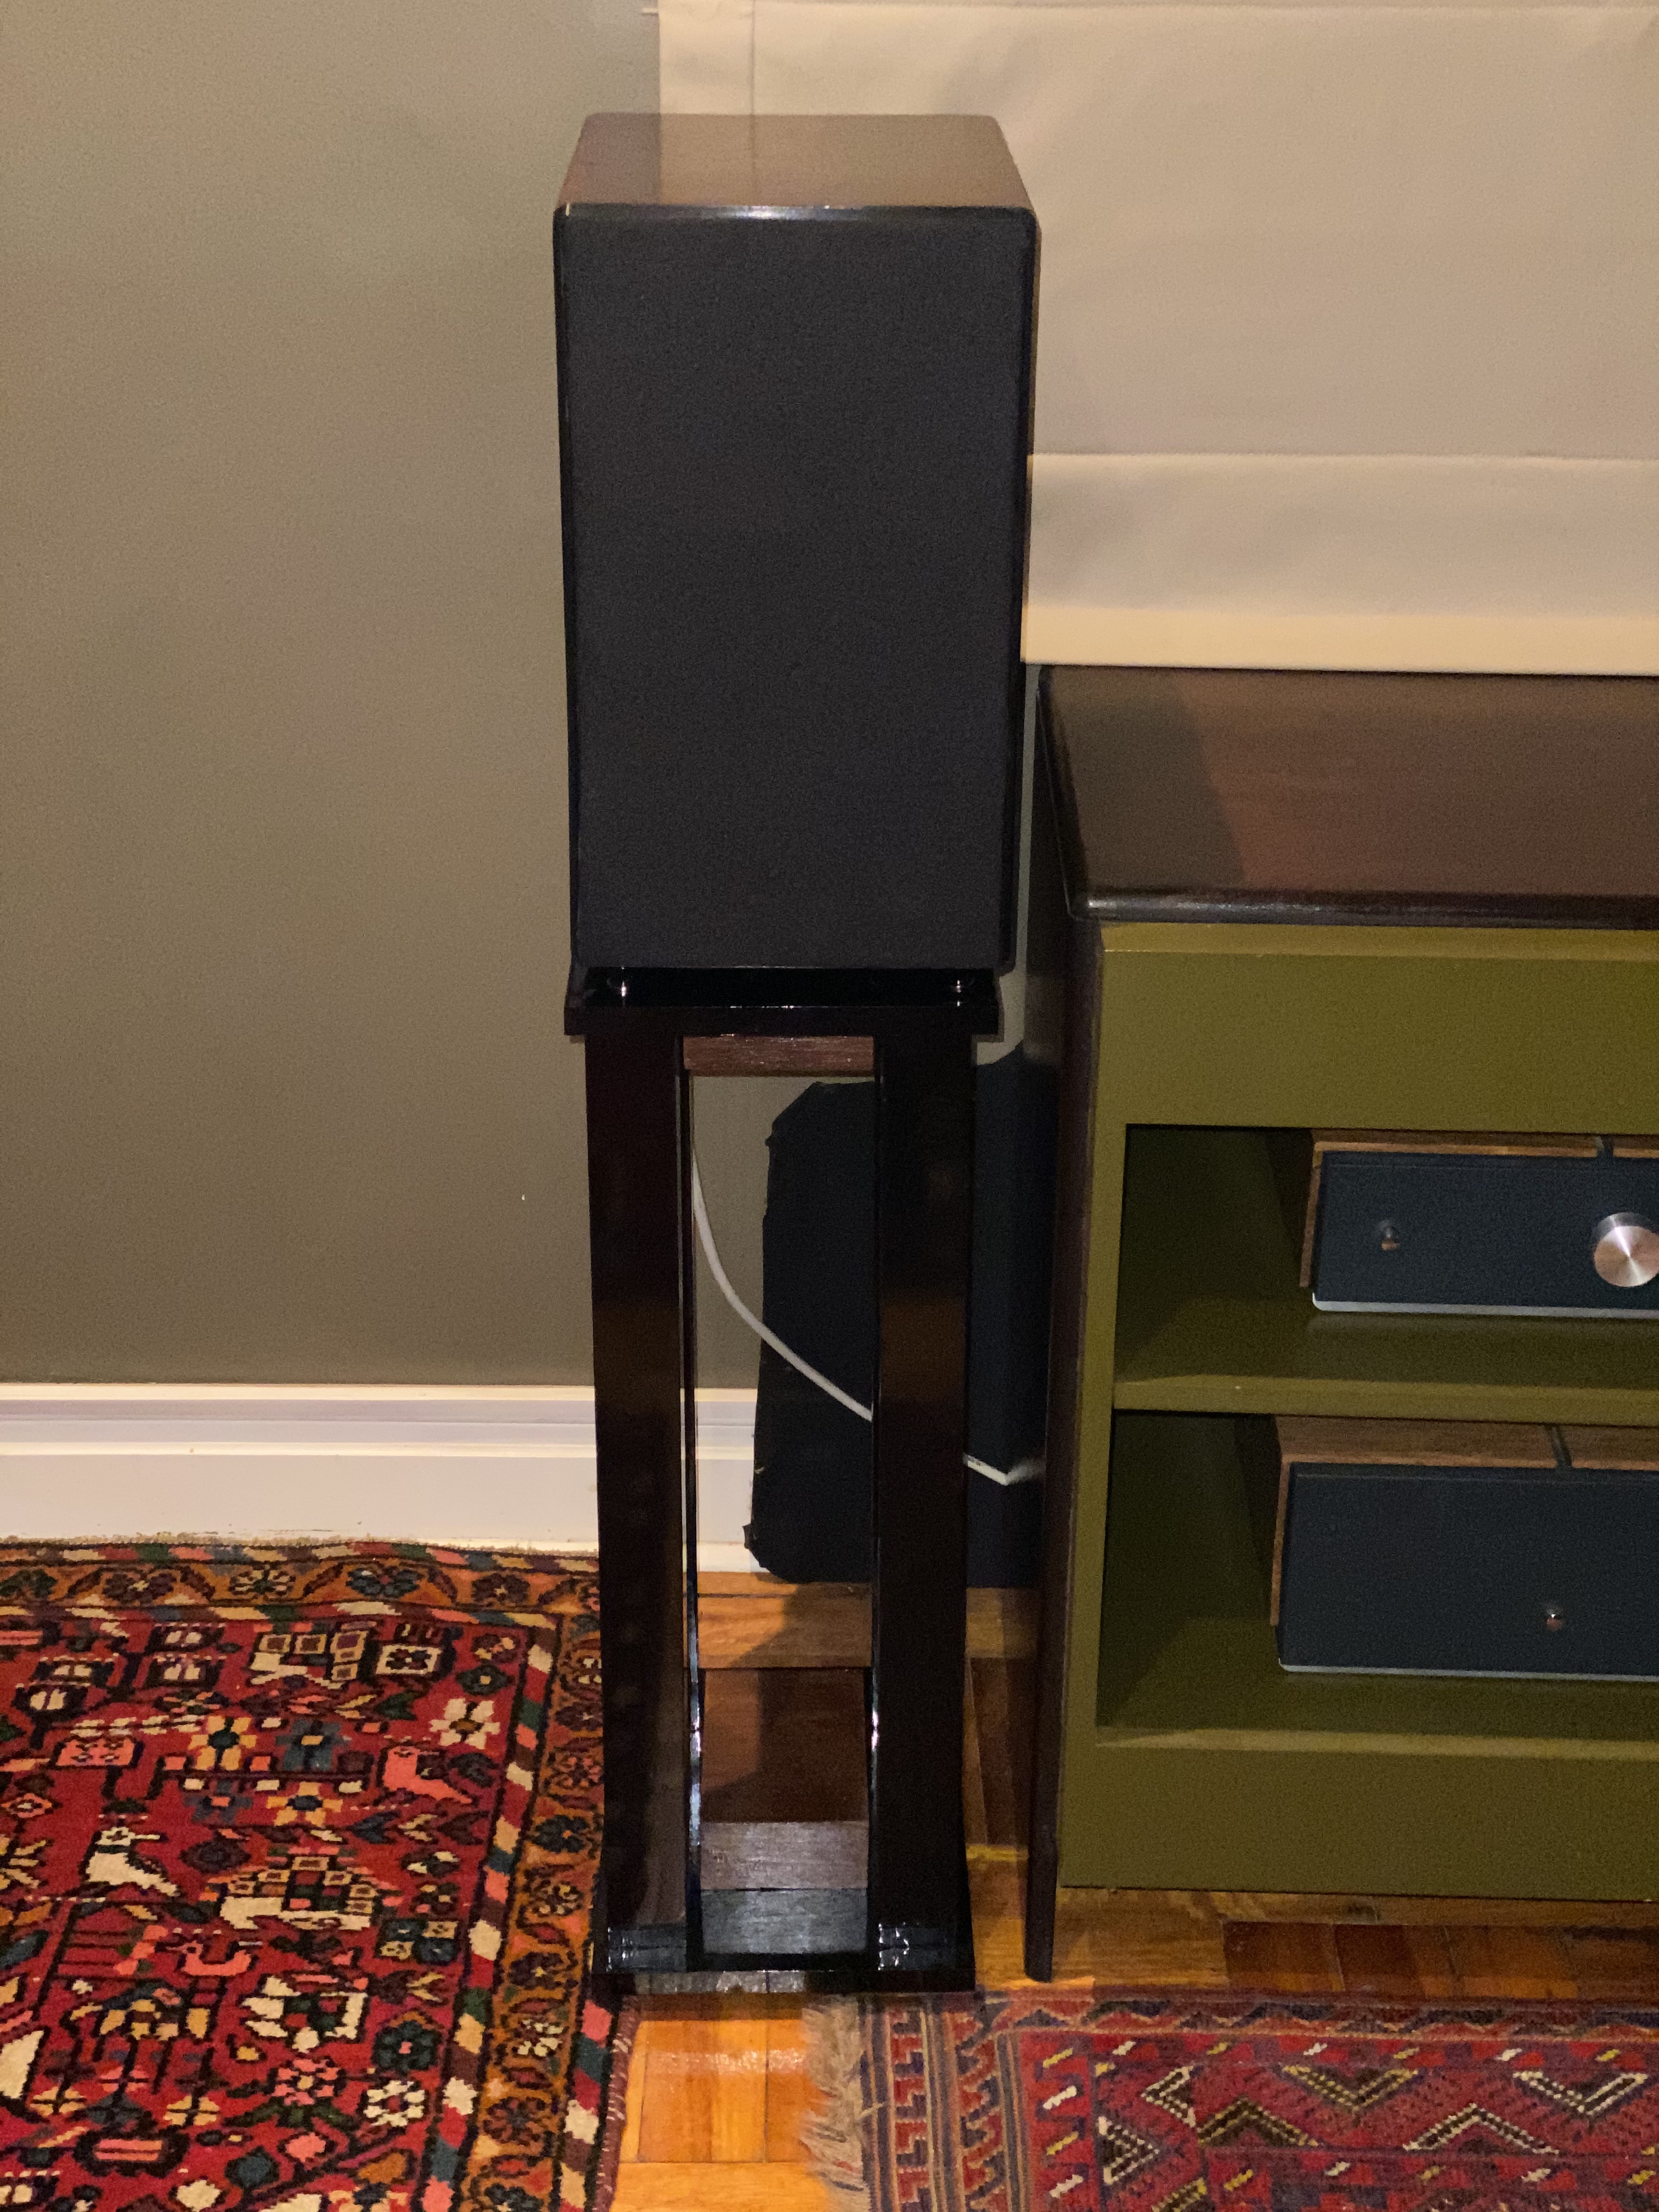
The finished speaker cover on. On the stand.

Sound: There are lots of reviews out there, and they live up to the hype. My first test turned into an extended listening session, which is always a good sign.
I decided to do this build because I had the drivers, and there were a few ideas I wanted to test. Tbh I've wanted to do a Zaph build for a while... and as a kid I had a deep desire to fly in an Sr-71 Blackbird, I know they are not related... but hey. These are for my bedroom, but the reality is that I tend to move my speakers quite a bit. I wanted a set of speakers where I could reconfigure the crossover on the fly with switches. Zaph has a bunch of configuration options for the SR71, so I built these into the crossover.
So things I wanted to test:
- Oracover as a replacement for paint or spray paint. - I would say this was a massive success for a gloss or matt finish. Iron and heat gun are critical, but I love this stuff. It is a million times easier than paint. You do need to make sure a surface is as well prepped as it would be for spray painting.
- New dampening options - 3M has some cool products for dampening.
- Testing Luxor light body filler - I don't know why I have been wary of this stuff because it's amazing to work with. I intend finishing all my builds with it before painting. You can also veneer over it.
- Veneering larger surfaces with PVA wood glue - I would say this was a semi success, I had a few bubbles that I had to worker, I should have gone for a bigger roundover, all in all though larger surface area's with PVA is possible and actually really easy. I used Tightbond original. Honestly though I'm not happy with the finish, and it's something I will revisit when my workshop is rebuilt. This is more a factor of the finishing method I used. A good finish takes time, and I didn't have any.
- Adjustable crossovers
- 3D printing baffle cover and using felt as a baffle diffuser. The 3D printed baffles are great, still haven't done enough listening with the felt on and off to form an opinion.
I'm building a workshop, so my current workspace was shrinking by the minute! That's why the spaces are so damn messy, and the speakers are still dirty, I had to move out of my temporary workspace on Sunday.
So standard build pics:
You can see the 3M dampening in one shot.
3d printed ports, I have the models for these in Fusion360 if anyone wants the models I am happy to share. Took a while to get the design right so for printing, you can also extend them easily..
This is the baffle cover, so it's a 3D printed frame holding the felt. This frame fits into another frame for a clean finish, that's in the final pic.
This is the Oracover on the stand legs. I didn't do a great job of smoothing the sides (mostly just running out of time), and you can see Oracover reveals that. The consistent Gloss finish is something I have never been able to accomplish with spraying.
That's the front baffle. On a nicely prepped surface the Oracover is magic. I know... not a rounded baffle, but it was a design choice.
This is the switch plate (Still have to clean it up, and I misplaced the damn toggle covers!), it basically allows the configurations shown in the black sticker diagram below.
That's an illustration for a sticker I am going to get printed.
The finished speaker cover on. On the stand.
Sound: There are lots of reviews out there, and they live up to the hype. My first test turned into an extended listening session, which is always a good sign.