Hi Everyone,
This is my first post, been a long-time lurker, but finally decided to join after my older brother, El Sid on the forum, encouraged me to post my recent subwoofer build.
Disclaimer: If you?re an acoustic engineer, purist or master carpenter in the vein of JimGore and SeanS, stop! Don?t read this thread, your left eye will start twitching involuntarily and you?ll likely have an aneurism and/or heart attack.
A few months ago we were doing major renovations to our house. We ripped out all the cupboards in the bedrooms and kitchen and had new ones installed. Being the cheapskate I am, I went to a cash and carry shop in Fordsburg to get a few things. They stock all sorts of hardware, electronics, tools and houseware at really good prices. I went there to buy sandpaper and masking tape to prep our wooden window frames for varnishing. Whilst browsing in the electronics section, I came across a pile of speakers in boxes, from 6? all the way up to 15?.
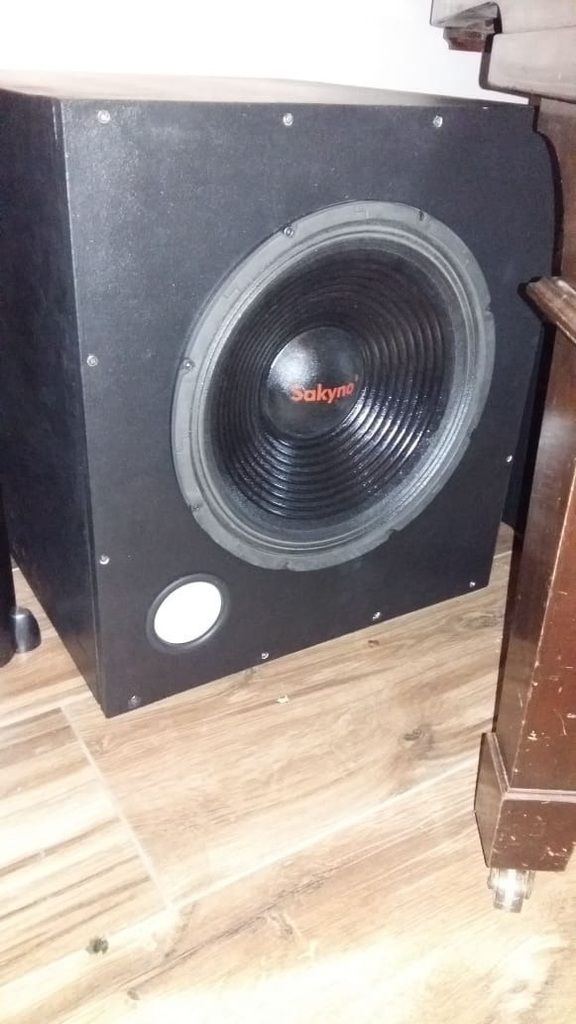
I couldn?t believe the prices, R120 for a 10? woofer and R250 for a 15? woofer. They were marked as subwoofers, but they?re professional audio speakers, so they?re mid-bass drivers rather than true subwoofers. I immediately picked up two 10?s and two 15?s. I?m using the 10?s in my two MAME arcade cabinets and at that stage didn?t really have any plans for the 15?s, but at that price, I was gonna buy them anyway! They had 2 types of speakers, one with foam surrounds and the other with corrugated cloth surrounds. Every speaker I?ve ever owned with foam surrounds has had the surrounds perish, so I avoided those like the plague and took the corrugated cloth versions. Here?s a pic of the speakers.
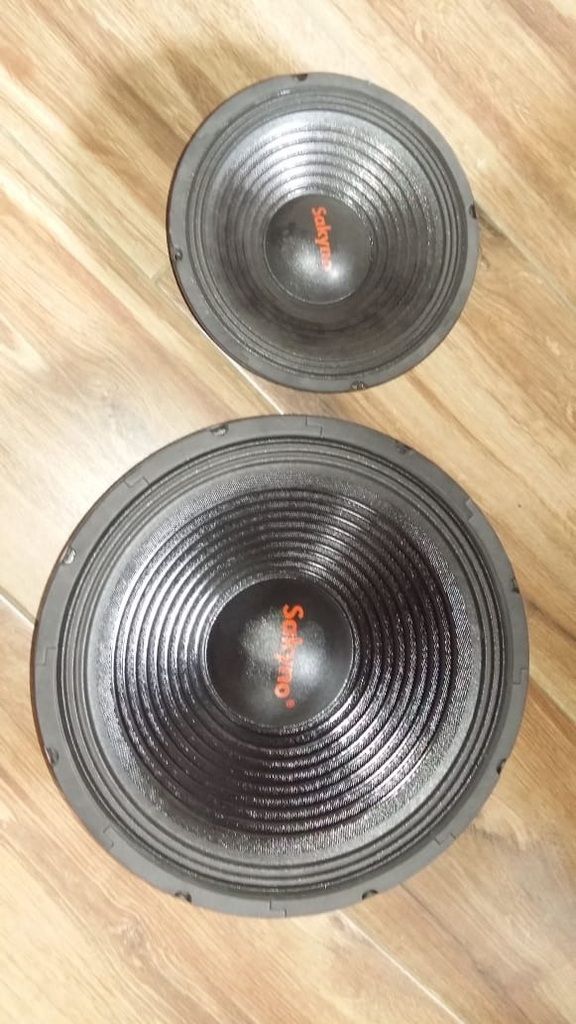
The 15? is huge! The box it came in didn?t look that big, but the speaker is certainly a lot bigger than the 10?s and 12?s I?ve become accustomed to. First thing I did was to hook up the two 15?s to a 4 channel, bridged to 2 channel car amp connected to a 650W PC power supply and run them in. I downloaded a signal generator app on the PC and drove a 35Hz sine wave through the 15?s at near maximum excursion for about a week. After about 150 hours, I figured they were well run in.

These things were bouncing around a lot when I was running them in. That?s a large mass moving in a 15?. I made a cradle to hold them while they were being run in. (Sorry, forgot to take a pic of the cradle)
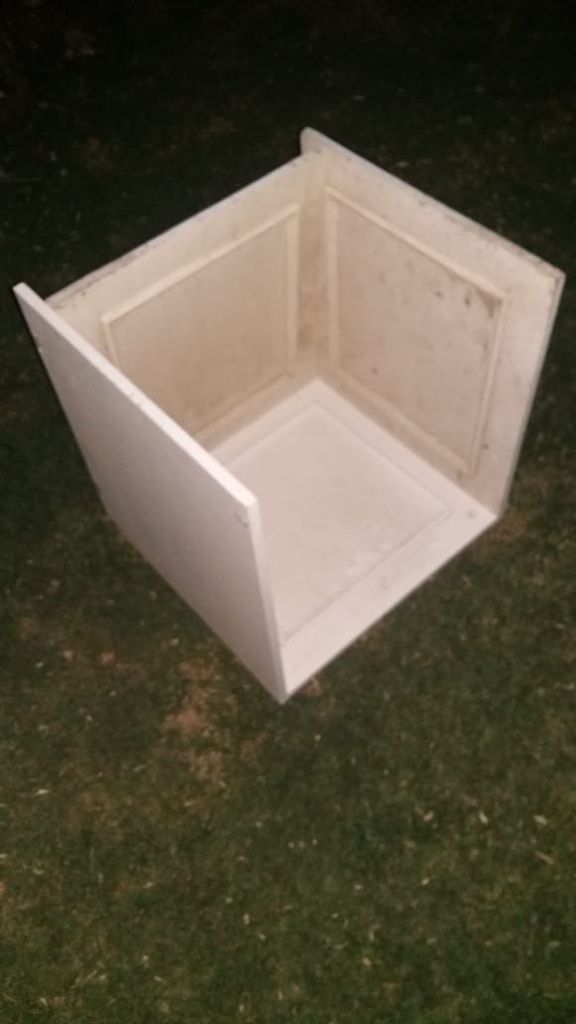
At this stage, I still didn?t really know what I was gonna use them for, but then I walked past a pile of the old cupboard doors that had been removed during the renovations and decided to build a box for one of the drivers to see what it would sound like. I used the almost square 560mm x 530mm doors to build the box, giving me a volume of about 150L. Now this is where the engineers/carpenters/purists etc are gonna have a heart attack! The box is everything that a speaker box should NOT be! It?s square, it?s made of rather thin 16mm chipboard, I could not find any T/S parameters for the speaker, so could not design the box to any particular resonant frequency. Pretty much all the articles I?ve read on the net about subwoofer box design have said it?ll sound crap if not designed properly, but I thought stuff it, I?m gonna build it as is anyway. Here are the cupboard doors I used.
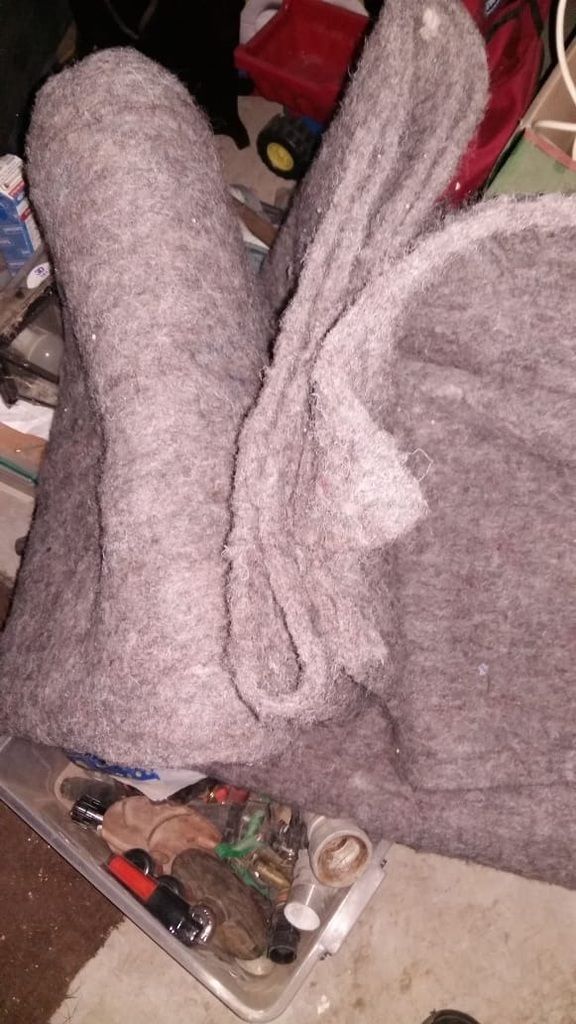
A mate of mine works for a carpet installer and brought me a large sheet of underfelt. This is much nicer than the regular dog blanket type underfelt. It?s more like pillow fibre rather than wool or cotton. It?s about 15mm thick.
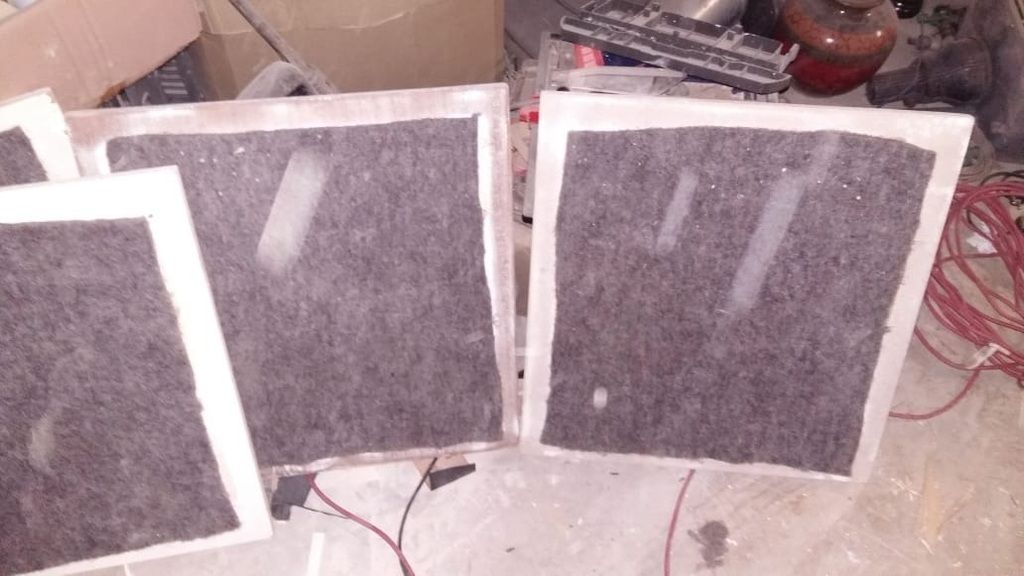
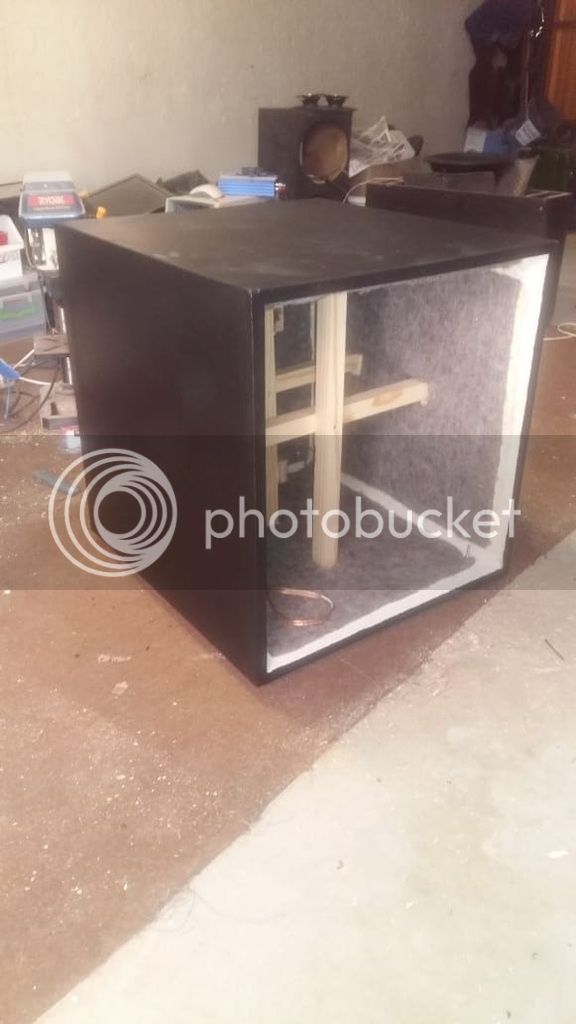
I removed the decorative wooden strips on the doors and cut the felt and glued it to the inside of each door panel.
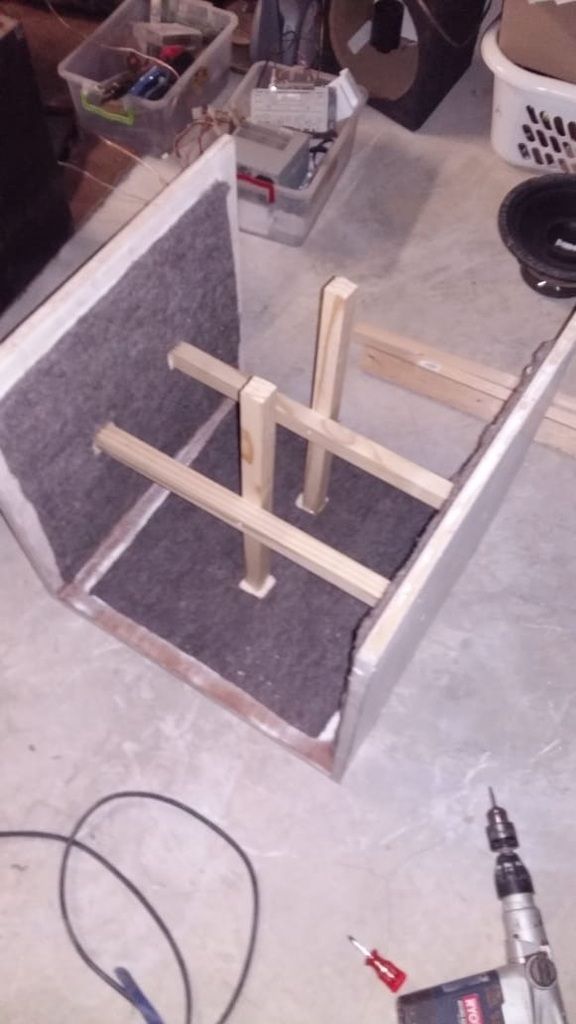
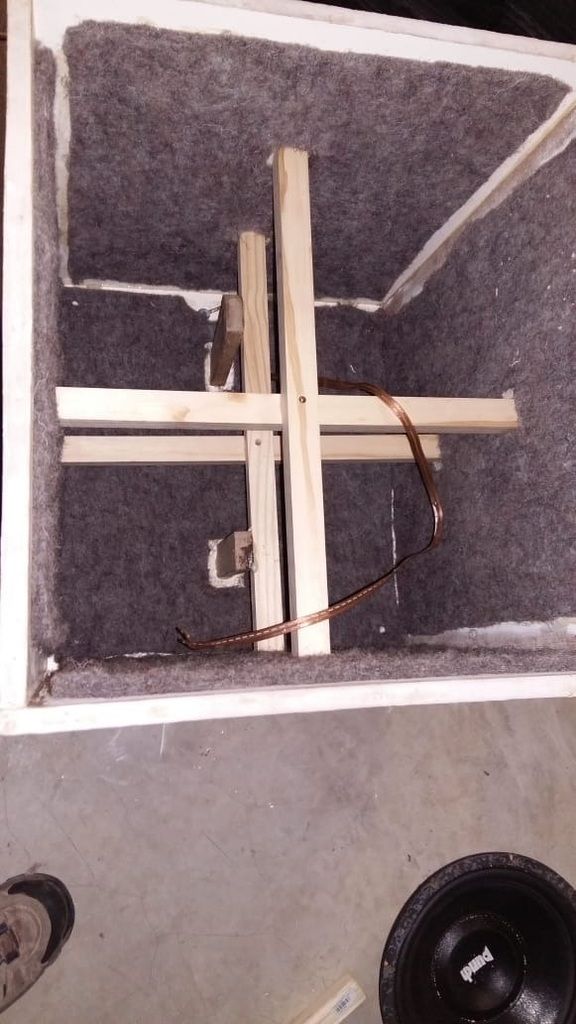
I screwed and glued three panels together to get the basic shape and put in the bracing for each panel. No special bracing was done, just two basic crosses glued and screwed to the panels.
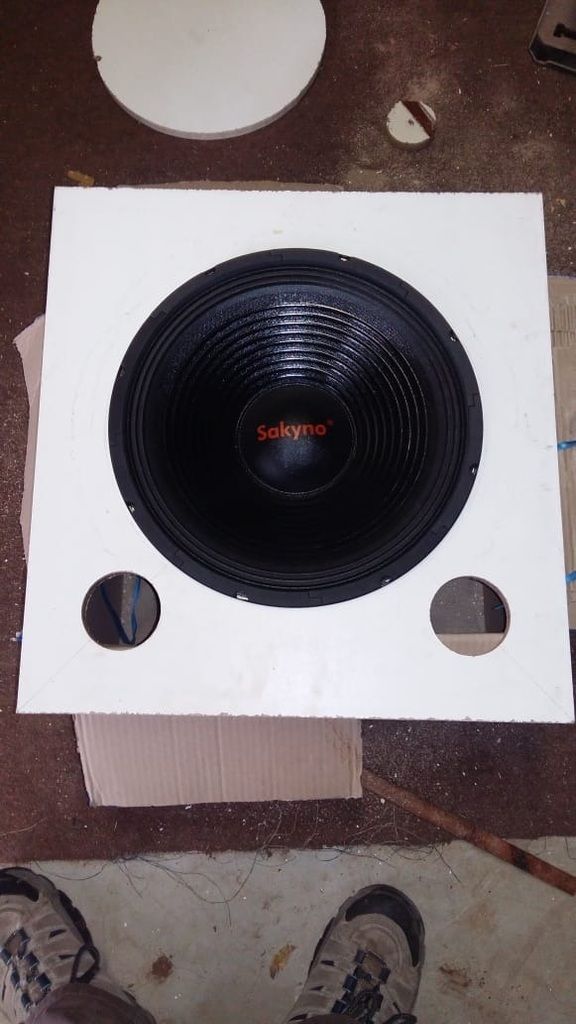
Cut the hole for the driver in the baffle with a jig saw and cut the reflex port holes with a 76mm hole saw and checked for fit.
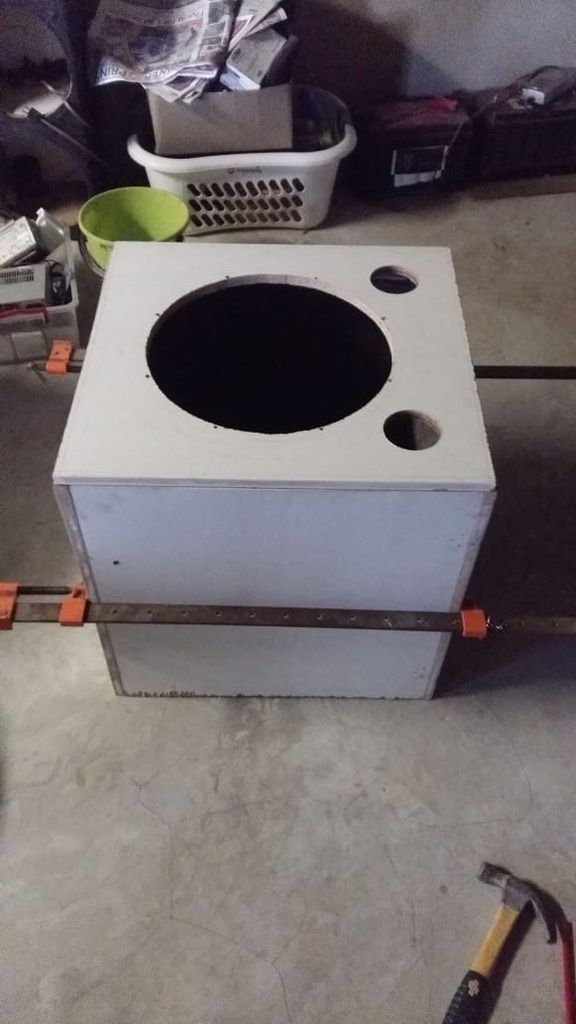
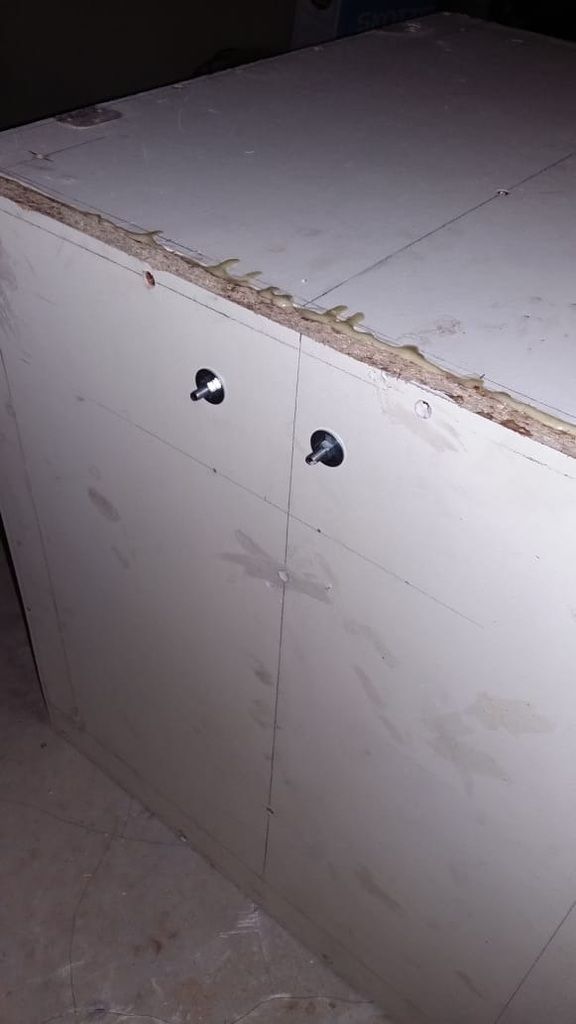
Clamped, glued and screwed the remaining two panels. The baffle was loose at this stage, just checking for fit.
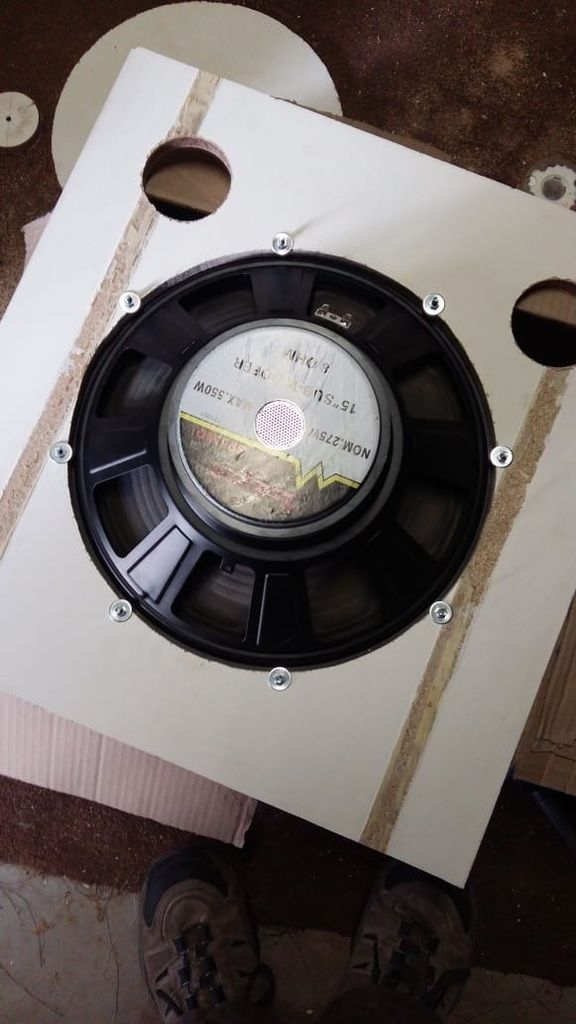
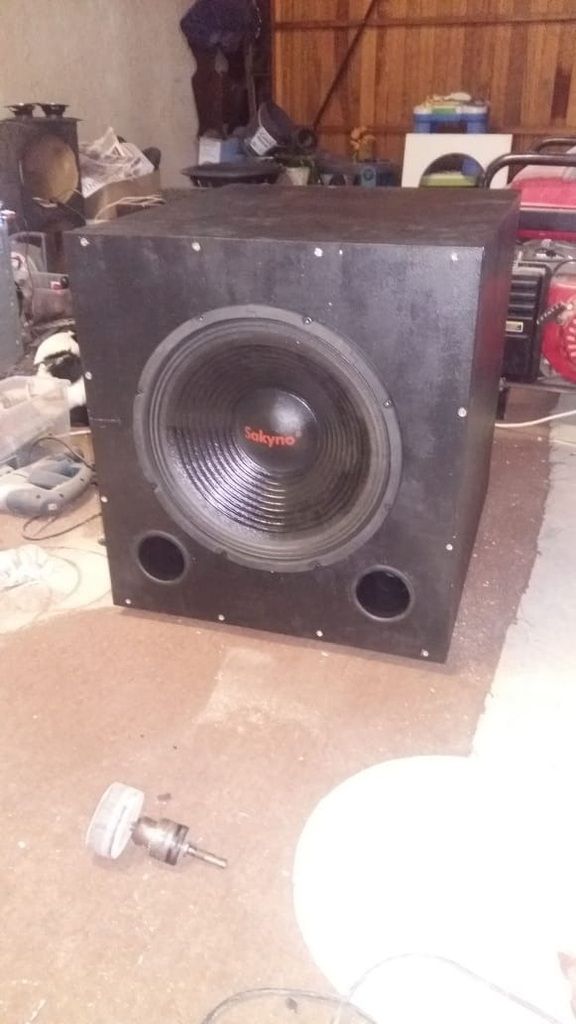
Bolted the driver in with M6 allen key bolts, washers and lock nuts.
State-of-the-art oxygen free, Monster Cable beating binding posts. My brother suggested that I hang amethyst or rose quartz to the cable connecting the driver to the binding posts to significantly improve the sound quality. But I told him that this box is more of an experiment rather than a final design, I don?t want to put Vivid Audio or B&W out of business just yet.
Wire in place and rear panel bracing.
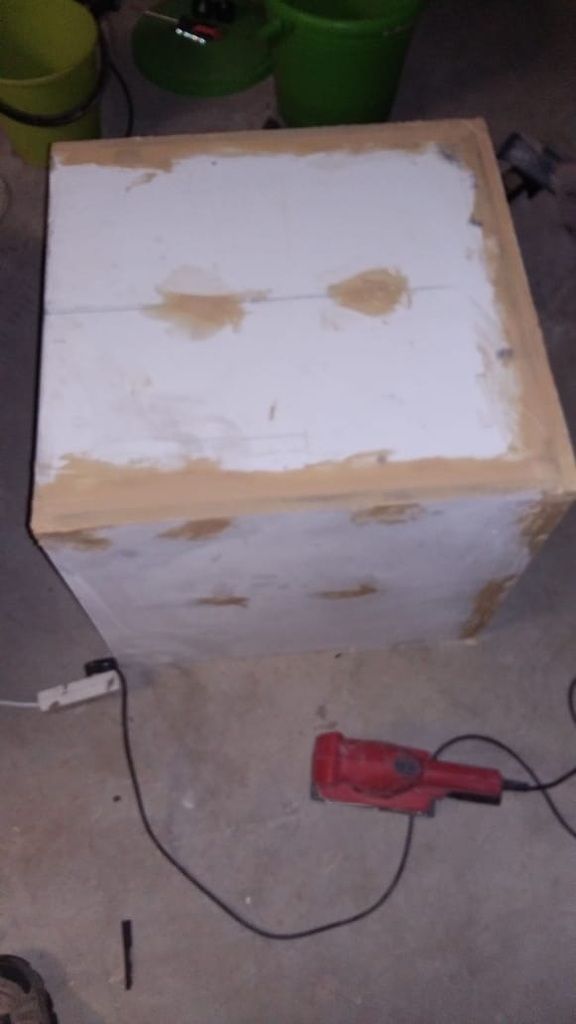
Pollyfilla?d all the holes and rough surfaces, ready for sanding.
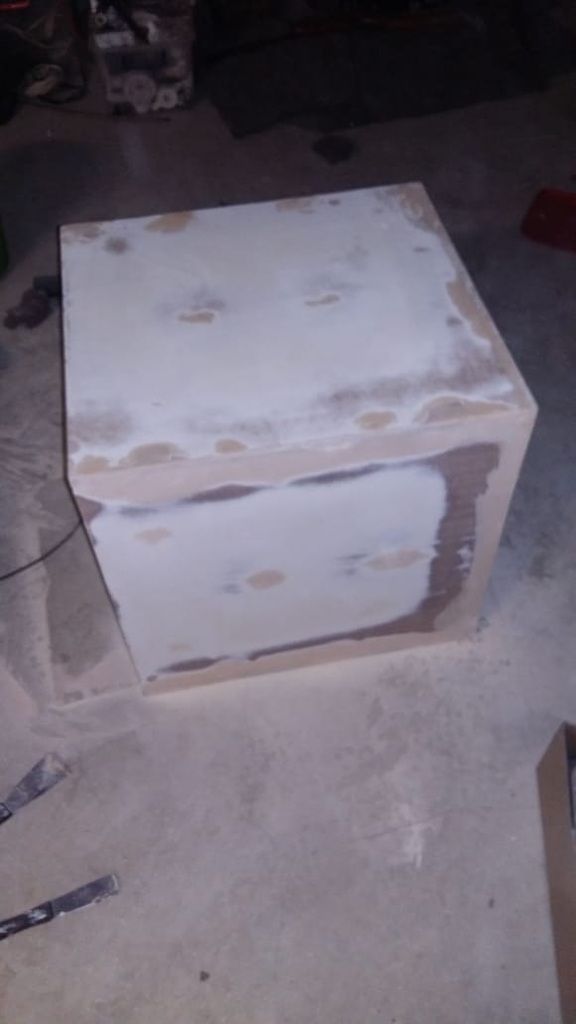
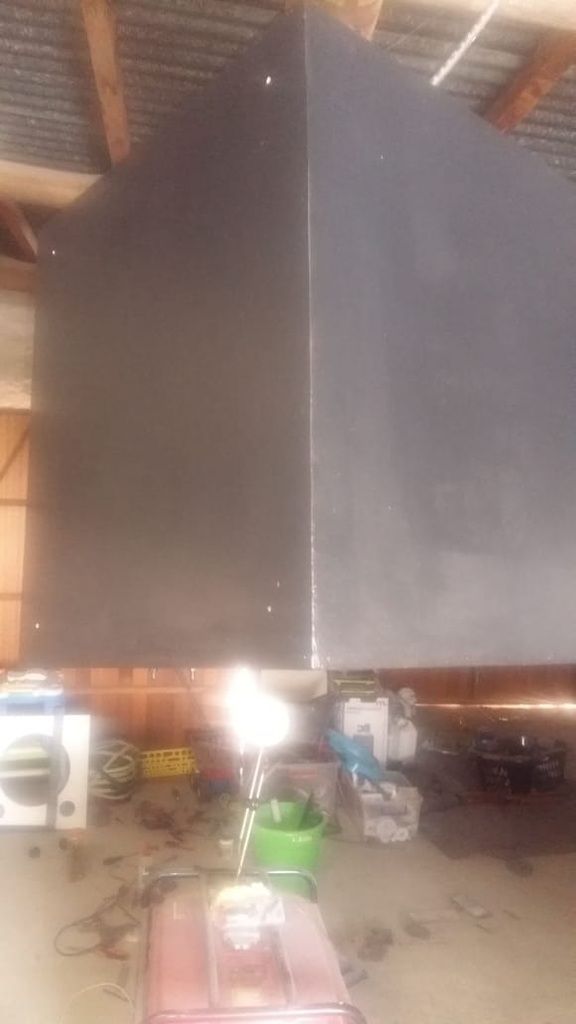
Sanded and ready for the first coat of paint.
First coat of paint. I used Plascon fireplace paint, it?s matt black and gives a nice speckled texture when dry. I used a small foam roller to paint it.
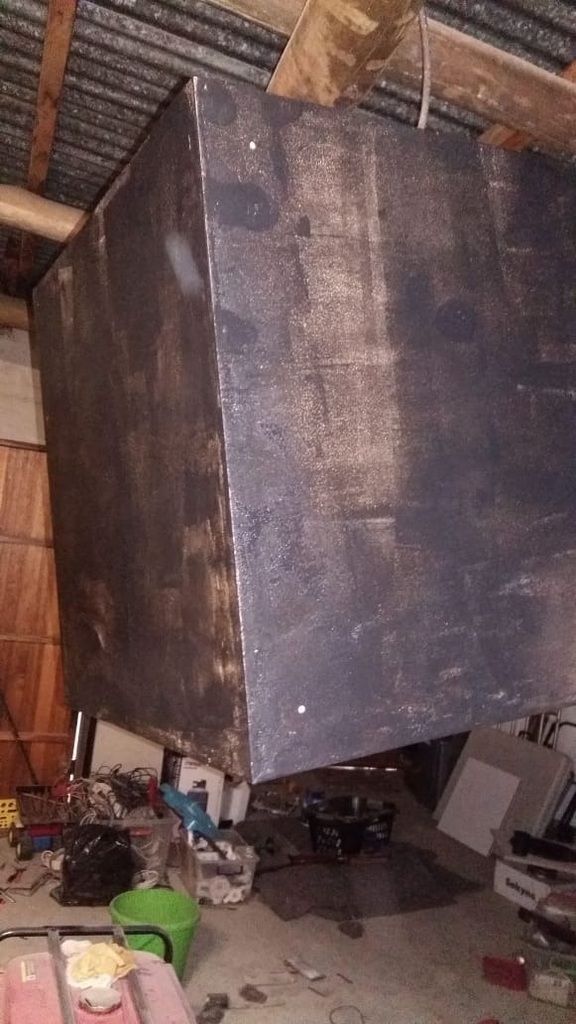
Final coat. The four holes are for the rubber feet.
Box done! I didn?t glue and screw the baffle on as I wanted to be able to remove it if I wanted to do any changes to the baffle or box, seeing as this was an experimental build. I used high density foam tape on the box edges where the baffle meets up with the box in order to seal it.
Painted the baffle, inserted the plastic reflex ports, and let the touch up paint dry.
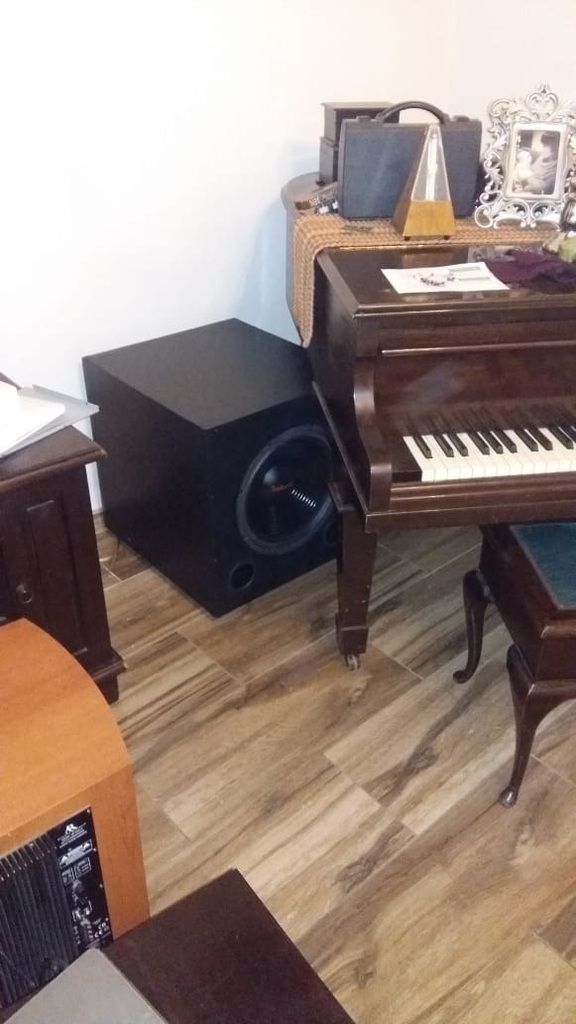
If you look VERY carefully in this picture, you might just see the subwoofer placed next to the piano. Somehow my wife managed to spot it immediately, I thought it was practically invisible!!
Now, with all the threads I?ve read about sub builds and not using the T/S parameters to design the box and what a complete waste of time it is and how crap it?ll sound etc. I was really expecting it to sound horrible. It actually sounded really good! Not super deep bass, but sounded MUCH better than I expected after reading all the posts about not designing the box correctly. I was driving it with an Onkyo A-9155 integrated amp, 50W per channel into 8 ohms. Definitely not powerful enough to drive it to it?s limits, but certainly good enough to test at moderate listening levels. The subwoofer was boomy at the upper sub frequencies, I put this down to it being a mid-bass driver rather than a proper subwoofer and that it had two 76mm reflex ports, only about 120mm in length.
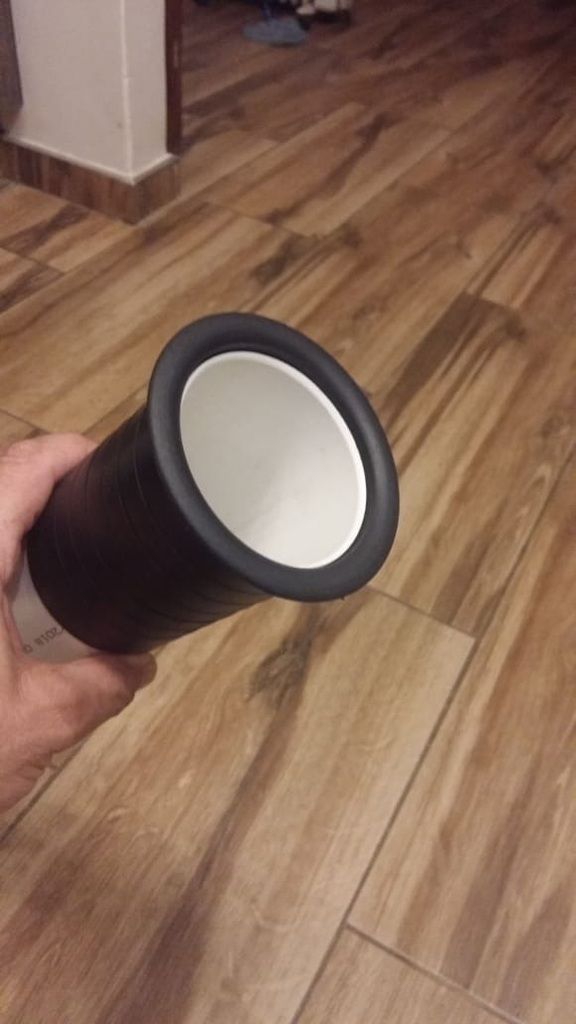
I plugged the one reflex port with a dish cloth and tried again. Damn!! The bass improved a lot! Much less boomy and definitely deeper. It was easily sounding as good as my R5000 AR 12? subwoofer at this stage, Blade Runner 2049 made the windows and trinkets rattle, but there was still room for improvement. The reflex ports had a 76mm internal diameter and were 120mm in length. I decided to give some 75mm PVC pipe a try. I had a brain fart and wondered if the 75mm PVC pipe would fit inside the 76mm reflex port.
At first, I could only get about 10mm of the PVC pipe into the reflex port. I removed the reflex port and put it in some boiling water for about 2 minutes and VOILA!!! Managed to get the pipe in and once it cooled, had a super tight fit.
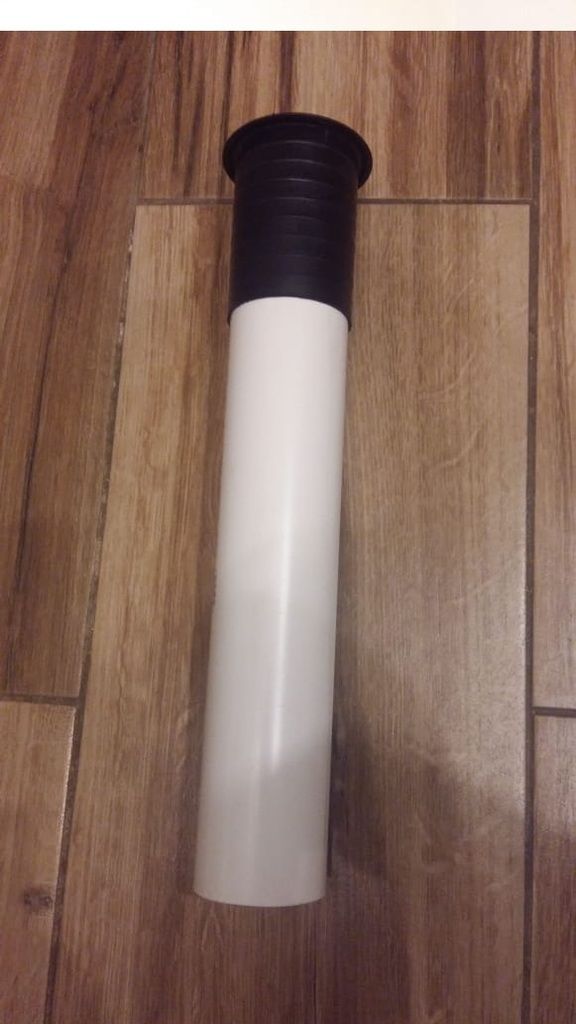
I cut the PVC pipe to 450mm and put it back into the box.
I permanently plugged the second port and was ready for some more tests.
Double damn!!!! This thing sounds really, really good now!! Much deeper than the AR and the boomyness almost completely gone. Really hammered the sub with Blade Runner and Blade Runner 2049, as well as War of the Worlds and Saving Private Ryan. The amp really took strain, it went into protection mode a couple of times. I tested it with some music as well, even though it?s gonna be used for HT the vast majority of the time. It?s too much for most music though, not tight and fast enough, although I did hear some bass guitar notes in ZZ Top?s ?My Head?s in Mississippi? that I?ve never heard before. I?m really chuffed that there?s no discernible port noise, even when the sub is driven hard.
I rigged up a 150W amp to the sub and now I see why they don?t recommend pro audio drivers for HT subwoofers. The driver bottomed out a couple of times with a loud click sound. I?d say that it has a maximum physical excursion of about 8mm. XMAX is probably around 4mm. The AR subwoofer is definitely much better in this respect, it has a much higher XMAX, I haven?t managed to bottom out the AR yet.
Costs of the project:
15? Sakyno driver R250
200 4mmx65mm screws R150
500ml wood glue R40
Jar of wood filler R45
1L Fireplace paint R200
Nuts and Bolts R50
3m 75mm PVC pipe R160
2 76mm reflex ports R10
Total R905
Time About 12 hours in total
Overall, I?m super impressed with this ridiculously cheap 15? driver. I never thought in a million years it would sound anywhere near as good as it does. It simply blows the much more expensive AR away when it?s driven within it?s limits. The only major issue is the very small XMAX compared to proper subwoofers. Each time I did a major change, going from 2 ports to one and then extending the single port to 450mm, there was a significant audible change.
After this really positive experience, I want to get some Targa Viper 15? subwoofers and build some new boxes for real this time, not just an experiment. The Targa drivers are highly recommended in the other DIY builds, so I?m definitely gonna look at them. At least the T/S parameters are available for the Targa drivers, so I?ll have a real goal to work towards.
This is my first post, been a long-time lurker, but finally decided to join after my older brother, El Sid on the forum, encouraged me to post my recent subwoofer build.
Disclaimer: If you?re an acoustic engineer, purist or master carpenter in the vein of JimGore and SeanS, stop! Don?t read this thread, your left eye will start twitching involuntarily and you?ll likely have an aneurism and/or heart attack.
A few months ago we were doing major renovations to our house. We ripped out all the cupboards in the bedrooms and kitchen and had new ones installed. Being the cheapskate I am, I went to a cash and carry shop in Fordsburg to get a few things. They stock all sorts of hardware, electronics, tools and houseware at really good prices. I went there to buy sandpaper and masking tape to prep our wooden window frames for varnishing. Whilst browsing in the electronics section, I came across a pile of speakers in boxes, from 6? all the way up to 15?.
I couldn?t believe the prices, R120 for a 10? woofer and R250 for a 15? woofer. They were marked as subwoofers, but they?re professional audio speakers, so they?re mid-bass drivers rather than true subwoofers. I immediately picked up two 10?s and two 15?s. I?m using the 10?s in my two MAME arcade cabinets and at that stage didn?t really have any plans for the 15?s, but at that price, I was gonna buy them anyway! They had 2 types of speakers, one with foam surrounds and the other with corrugated cloth surrounds. Every speaker I?ve ever owned with foam surrounds has had the surrounds perish, so I avoided those like the plague and took the corrugated cloth versions. Here?s a pic of the speakers.
The 15? is huge! The box it came in didn?t look that big, but the speaker is certainly a lot bigger than the 10?s and 12?s I?ve become accustomed to. First thing I did was to hook up the two 15?s to a 4 channel, bridged to 2 channel car amp connected to a 650W PC power supply and run them in. I downloaded a signal generator app on the PC and drove a 35Hz sine wave through the 15?s at near maximum excursion for about a week. After about 150 hours, I figured they were well run in.
These things were bouncing around a lot when I was running them in. That?s a large mass moving in a 15?. I made a cradle to hold them while they were being run in. (Sorry, forgot to take a pic of the cradle)
At this stage, I still didn?t really know what I was gonna use them for, but then I walked past a pile of the old cupboard doors that had been removed during the renovations and decided to build a box for one of the drivers to see what it would sound like. I used the almost square 560mm x 530mm doors to build the box, giving me a volume of about 150L. Now this is where the engineers/carpenters/purists etc are gonna have a heart attack! The box is everything that a speaker box should NOT be! It?s square, it?s made of rather thin 16mm chipboard, I could not find any T/S parameters for the speaker, so could not design the box to any particular resonant frequency. Pretty much all the articles I?ve read on the net about subwoofer box design have said it?ll sound crap if not designed properly, but I thought stuff it, I?m gonna build it as is anyway. Here are the cupboard doors I used.
A mate of mine works for a carpet installer and brought me a large sheet of underfelt. This is much nicer than the regular dog blanket type underfelt. It?s more like pillow fibre rather than wool or cotton. It?s about 15mm thick.
I removed the decorative wooden strips on the doors and cut the felt and glued it to the inside of each door panel.
I screwed and glued three panels together to get the basic shape and put in the bracing for each panel. No special bracing was done, just two basic crosses glued and screwed to the panels.
Cut the hole for the driver in the baffle with a jig saw and cut the reflex port holes with a 76mm hole saw and checked for fit.
Clamped, glued and screwed the remaining two panels. The baffle was loose at this stage, just checking for fit.
Bolted the driver in with M6 allen key bolts, washers and lock nuts.
State-of-the-art oxygen free, Monster Cable beating binding posts. My brother suggested that I hang amethyst or rose quartz to the cable connecting the driver to the binding posts to significantly improve the sound quality. But I told him that this box is more of an experiment rather than a final design, I don?t want to put Vivid Audio or B&W out of business just yet.
Wire in place and rear panel bracing.
Pollyfilla?d all the holes and rough surfaces, ready for sanding.
Sanded and ready for the first coat of paint.
First coat of paint. I used Plascon fireplace paint, it?s matt black and gives a nice speckled texture when dry. I used a small foam roller to paint it.
Final coat. The four holes are for the rubber feet.
Box done! I didn?t glue and screw the baffle on as I wanted to be able to remove it if I wanted to do any changes to the baffle or box, seeing as this was an experimental build. I used high density foam tape on the box edges where the baffle meets up with the box in order to seal it.
Painted the baffle, inserted the plastic reflex ports, and let the touch up paint dry.
If you look VERY carefully in this picture, you might just see the subwoofer placed next to the piano. Somehow my wife managed to spot it immediately, I thought it was practically invisible!!
Now, with all the threads I?ve read about sub builds and not using the T/S parameters to design the box and what a complete waste of time it is and how crap it?ll sound etc. I was really expecting it to sound horrible. It actually sounded really good! Not super deep bass, but sounded MUCH better than I expected after reading all the posts about not designing the box correctly. I was driving it with an Onkyo A-9155 integrated amp, 50W per channel into 8 ohms. Definitely not powerful enough to drive it to it?s limits, but certainly good enough to test at moderate listening levels. The subwoofer was boomy at the upper sub frequencies, I put this down to it being a mid-bass driver rather than a proper subwoofer and that it had two 76mm reflex ports, only about 120mm in length.
I plugged the one reflex port with a dish cloth and tried again. Damn!! The bass improved a lot! Much less boomy and definitely deeper. It was easily sounding as good as my R5000 AR 12? subwoofer at this stage, Blade Runner 2049 made the windows and trinkets rattle, but there was still room for improvement. The reflex ports had a 76mm internal diameter and were 120mm in length. I decided to give some 75mm PVC pipe a try. I had a brain fart and wondered if the 75mm PVC pipe would fit inside the 76mm reflex port.
At first, I could only get about 10mm of the PVC pipe into the reflex port. I removed the reflex port and put it in some boiling water for about 2 minutes and VOILA!!! Managed to get the pipe in and once it cooled, had a super tight fit.
I cut the PVC pipe to 450mm and put it back into the box.
I permanently plugged the second port and was ready for some more tests.
Double damn!!!! This thing sounds really, really good now!! Much deeper than the AR and the boomyness almost completely gone. Really hammered the sub with Blade Runner and Blade Runner 2049, as well as War of the Worlds and Saving Private Ryan. The amp really took strain, it went into protection mode a couple of times. I tested it with some music as well, even though it?s gonna be used for HT the vast majority of the time. It?s too much for most music though, not tight and fast enough, although I did hear some bass guitar notes in ZZ Top?s ?My Head?s in Mississippi? that I?ve never heard before. I?m really chuffed that there?s no discernible port noise, even when the sub is driven hard.
I rigged up a 150W amp to the sub and now I see why they don?t recommend pro audio drivers for HT subwoofers. The driver bottomed out a couple of times with a loud click sound. I?d say that it has a maximum physical excursion of about 8mm. XMAX is probably around 4mm. The AR subwoofer is definitely much better in this respect, it has a much higher XMAX, I haven?t managed to bottom out the AR yet.
Costs of the project:
15? Sakyno driver R250
200 4mmx65mm screws R150
500ml wood glue R40
Jar of wood filler R45
1L Fireplace paint R200
Nuts and Bolts R50
3m 75mm PVC pipe R160
2 76mm reflex ports R10
Total R905
Time About 12 hours in total
Overall, I?m super impressed with this ridiculously cheap 15? driver. I never thought in a million years it would sound anywhere near as good as it does. It simply blows the much more expensive AR away when it?s driven within it?s limits. The only major issue is the very small XMAX compared to proper subwoofers. Each time I did a major change, going from 2 ports to one and then extending the single port to 450mm, there was a significant audible change.
After this really positive experience, I want to get some Targa Viper 15? subwoofers and build some new boxes for real this time, not just an experiment. The Targa drivers are highly recommended in the other DIY builds, so I?m definitely gonna look at them. At least the T/S parameters are available for the Targa drivers, so I?ll have a real goal to work towards.