While there is nothing new and special about using raspberry pi's to stream music and all kinds of other handy things, I decided I was gonna build myself a streamer/roon edpoint using one of the many raspberry pi's I have at home.
The goal was to build a streamer out of the parts I had lying around and what I could get for free barring the chassis as it would be a custom design and IT HAD TO HAVE A LINEAR PSU.
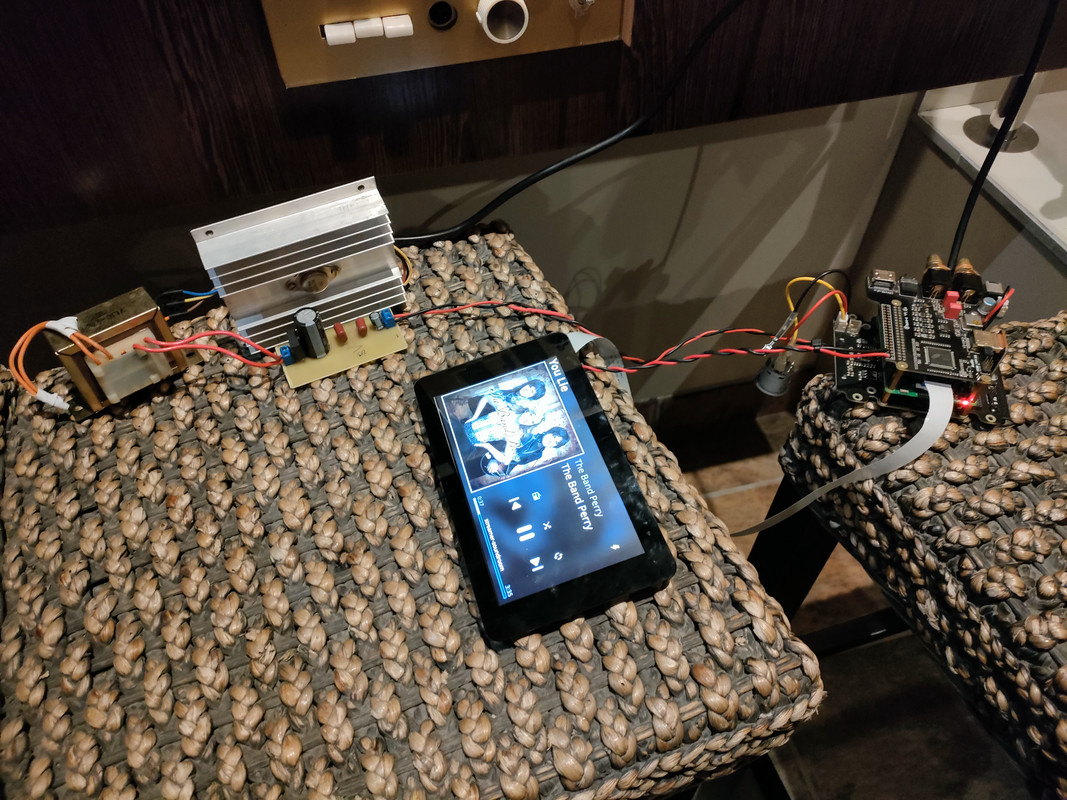
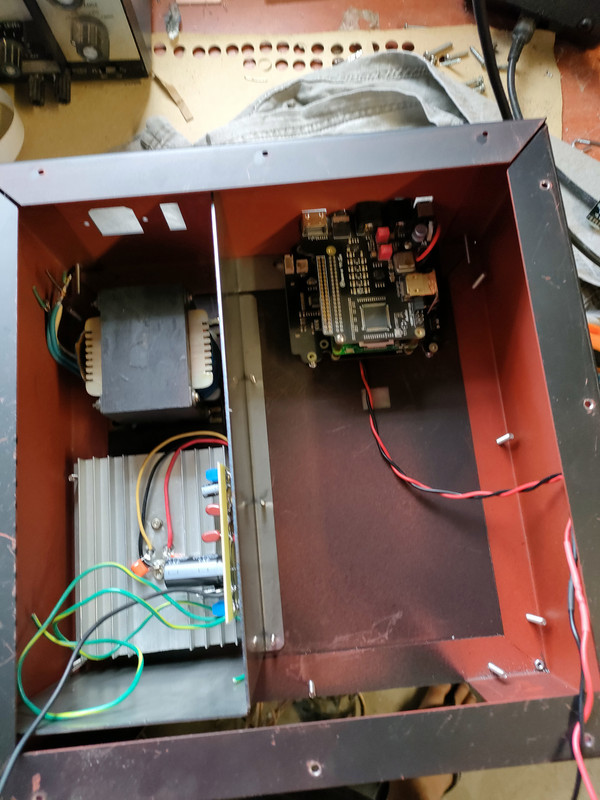
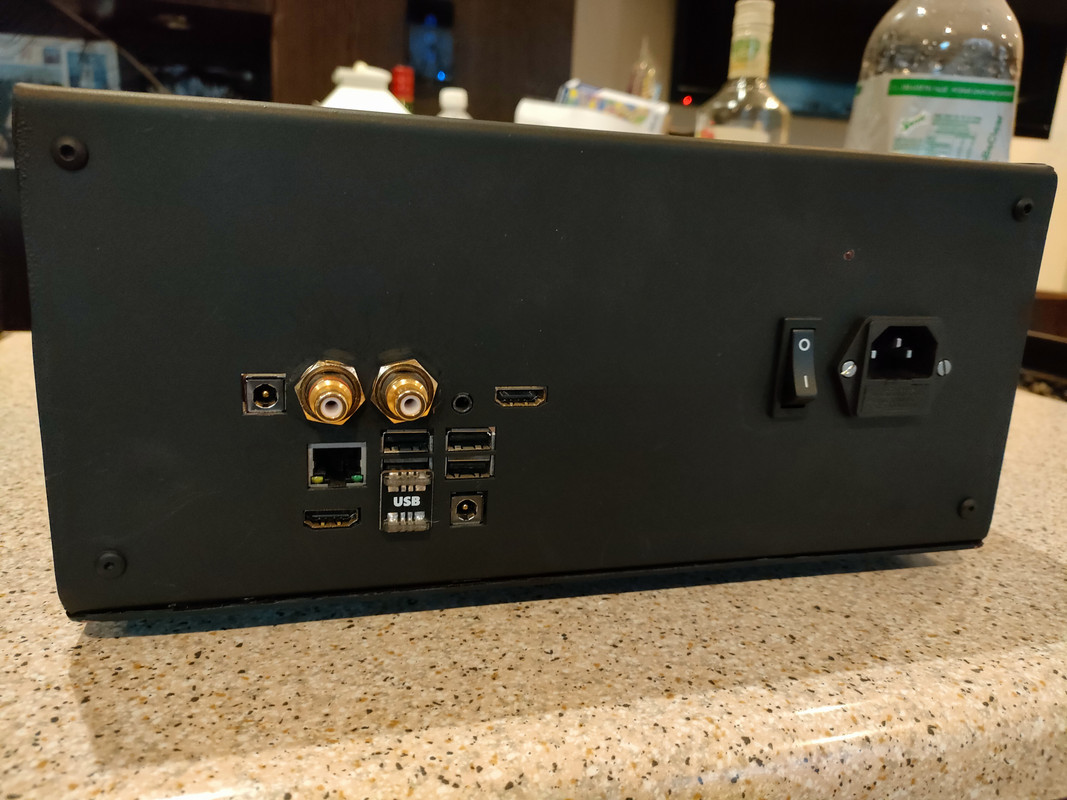
So off to the garage and find the best raspberry pi that I had using a Suptronics base board and a Suptronics dac hat.
The dac hat is just there if I ever connect up to a system that doesn't have an external USB dac.
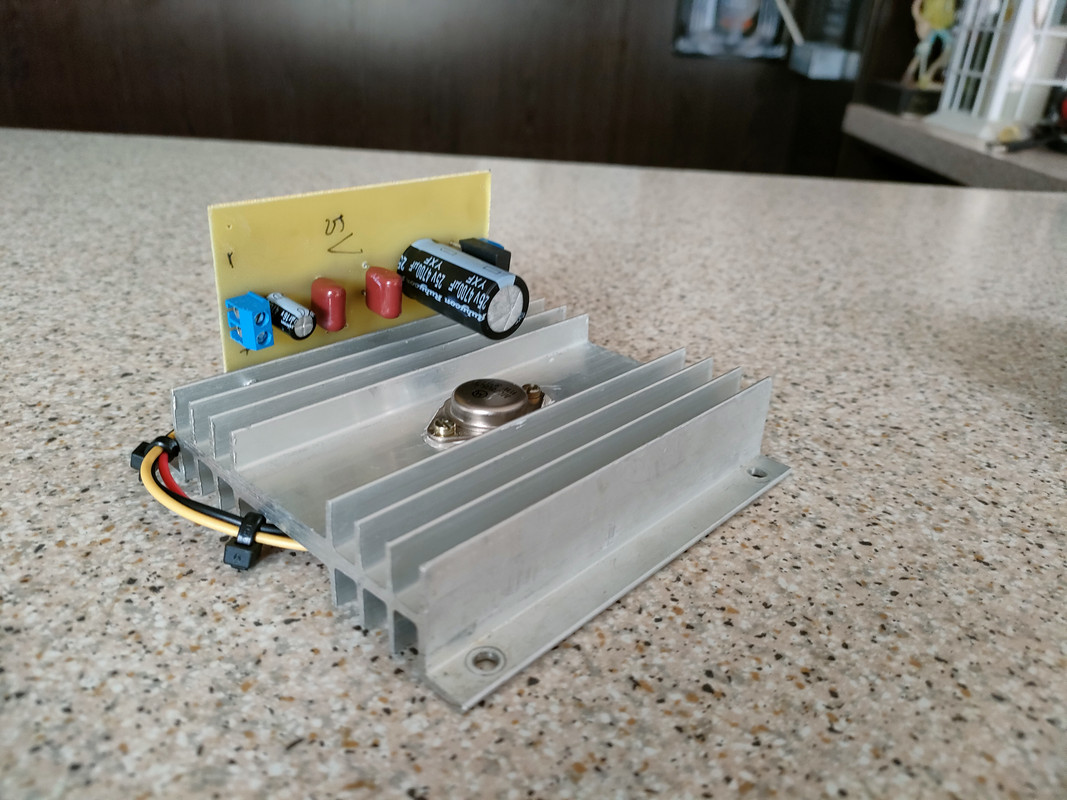
Then I go through my box of parts and collect everything I need for the linear PSU. Make the board and etch it for the psu using a LM7805 regulator with a normal heatsink on. Well, it took about 30seconds for the heatsink to get to a temperature that I couldn't touch it. Off to the ALWAYS helpful Garth Moore, We go through the extremely organized stock that he has and get a heatsink that is capable of managing the heat. I fired it up and its stable but the transformer is getting warm. I managed to find a transformer that's capable of delivering the power needed for the raspberry pi as its drawing about 1.7 amps from the transformer.
Next issue. The LM7805 is only rated at 1.5A so its running beyond max. I then consulted the all-knowing internet for a substitute that I could use. I find the LM323 is rated at 5v 3A......perfect. I'm good to go.
Modify the PSU and test it. Its working perfectly. Interesting though I still get the low voltage warning intermittently on the raspberry pi even though I'm delivering a constant 5.02V and the range for these devices is 4.75 - 5.25v. I even tried the Original Suptronics 5v 4A PSU and did the same thing. I'm not worried about it as I know everything is stable on the PSU side.
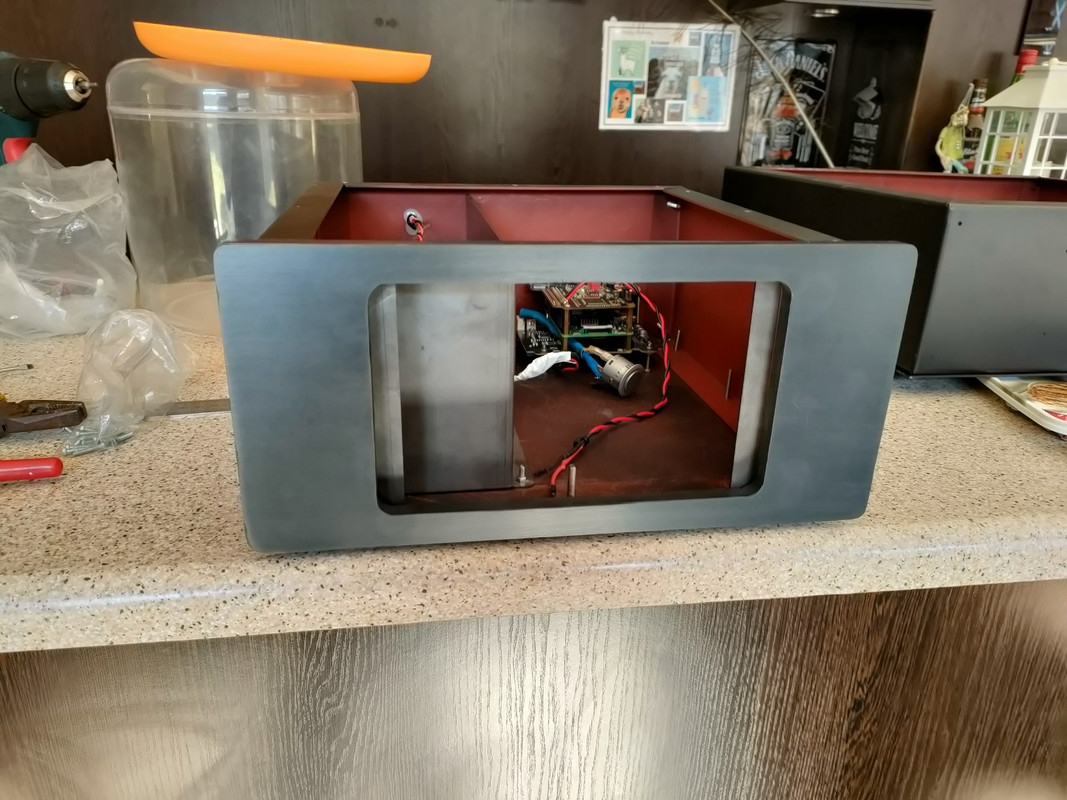
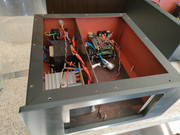
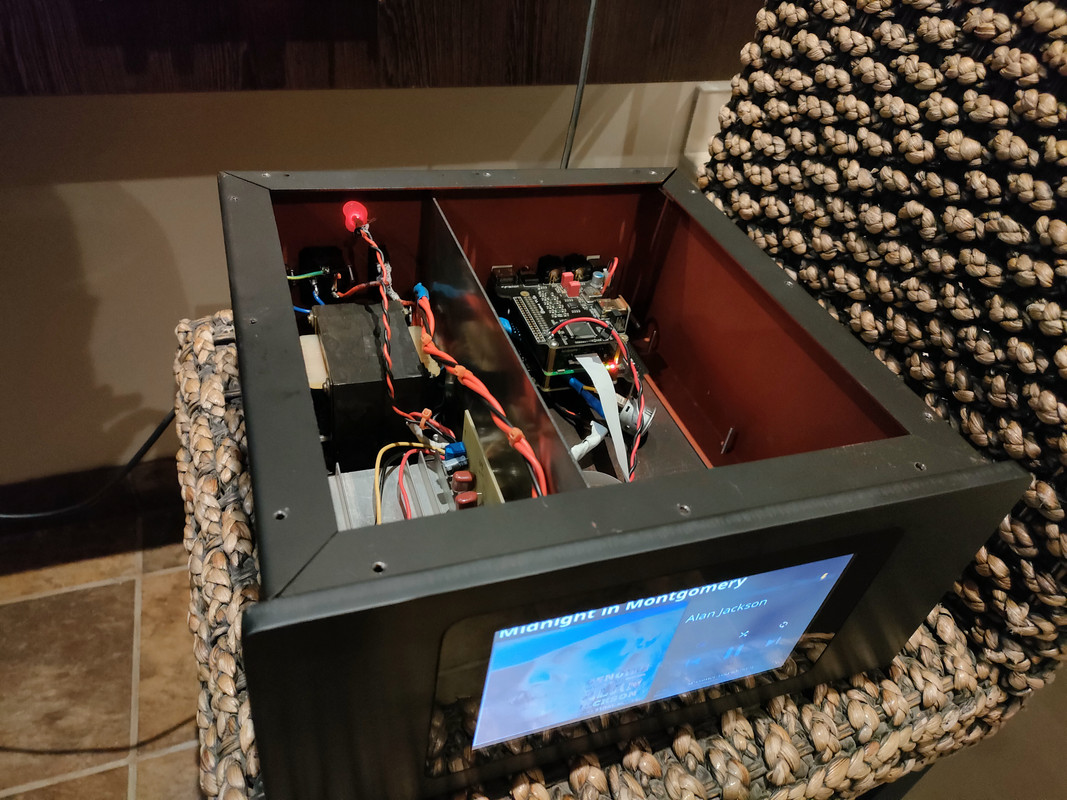
The chassis was an interesting challenge. I wanted to go the extra mile and separate the power from the raspberry pi, so I put a divider between them.
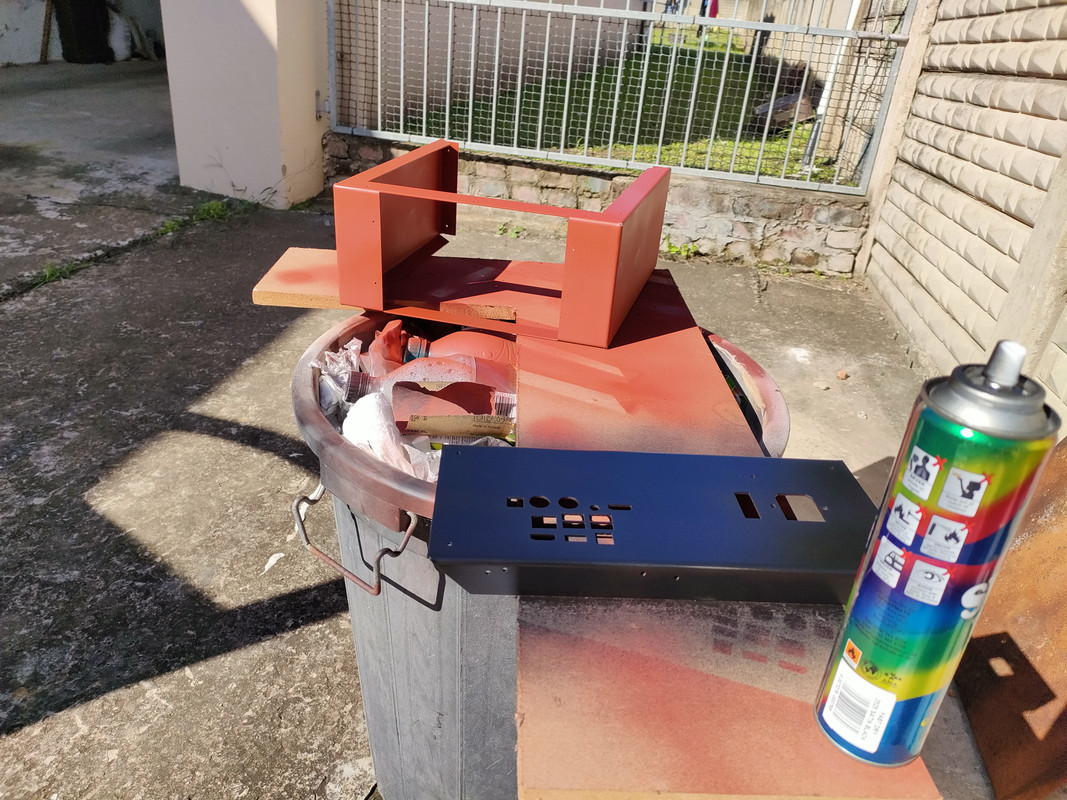
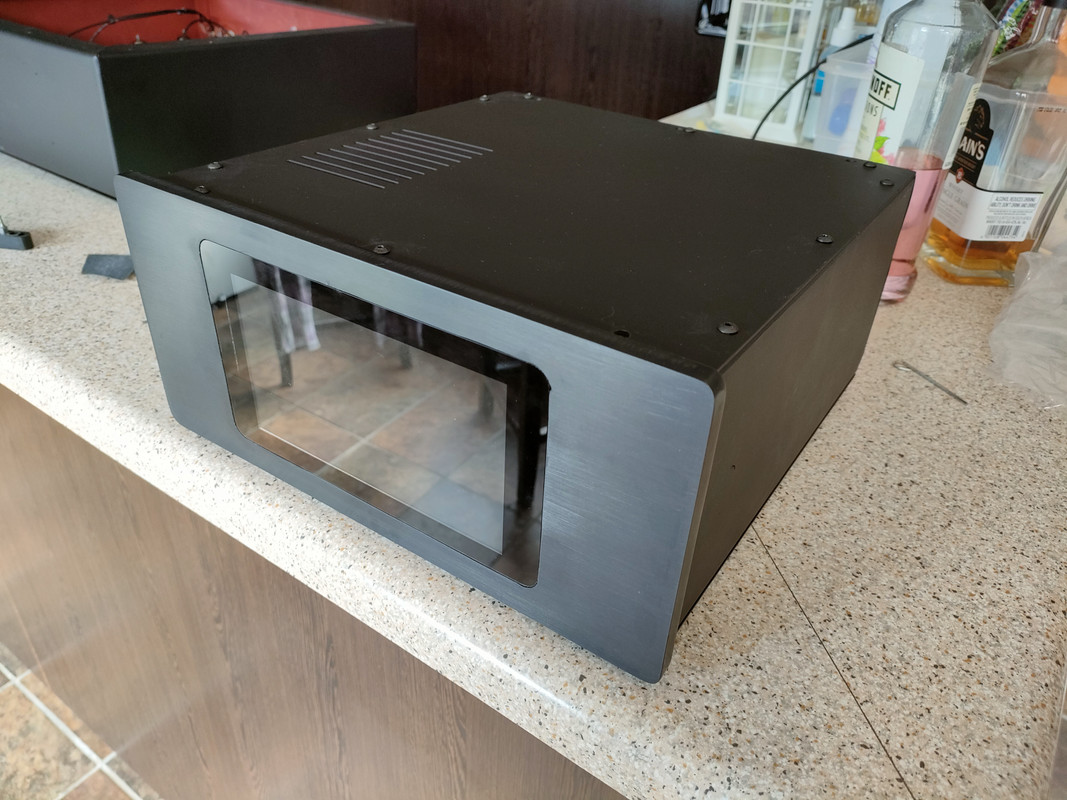
I used red oxide on the chassis to prevent rust and it works as an exceptionally good primer. I used spray mate satin black for the colour.
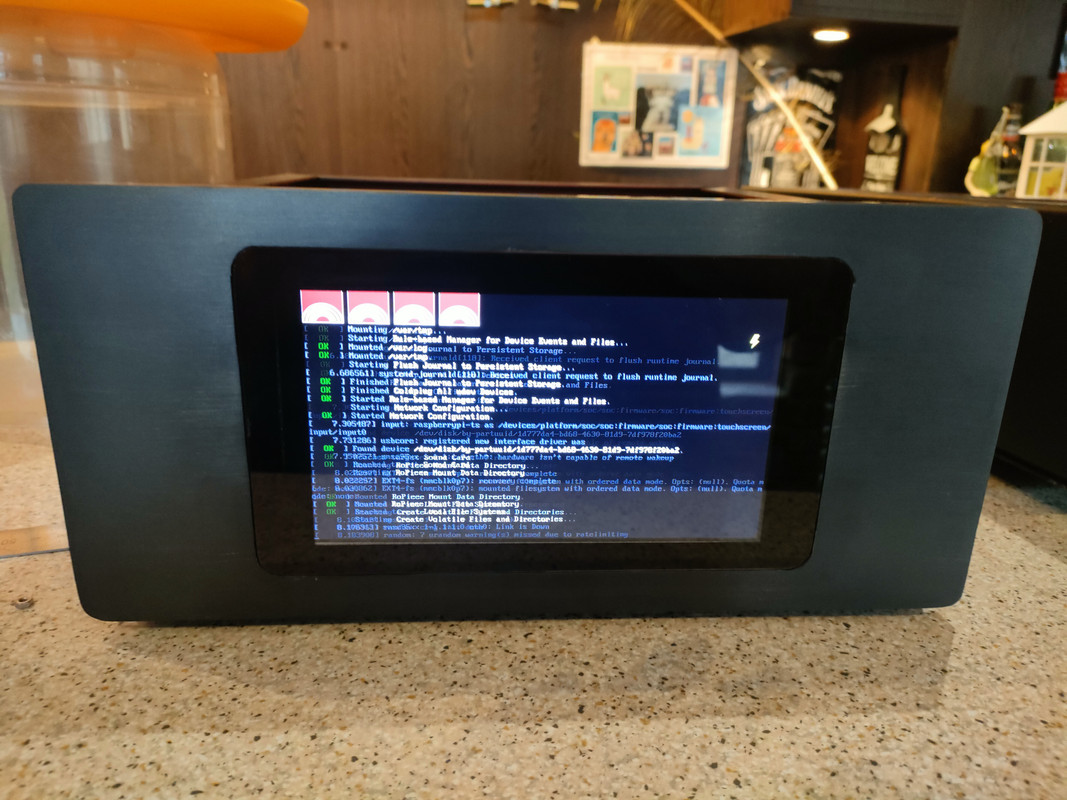
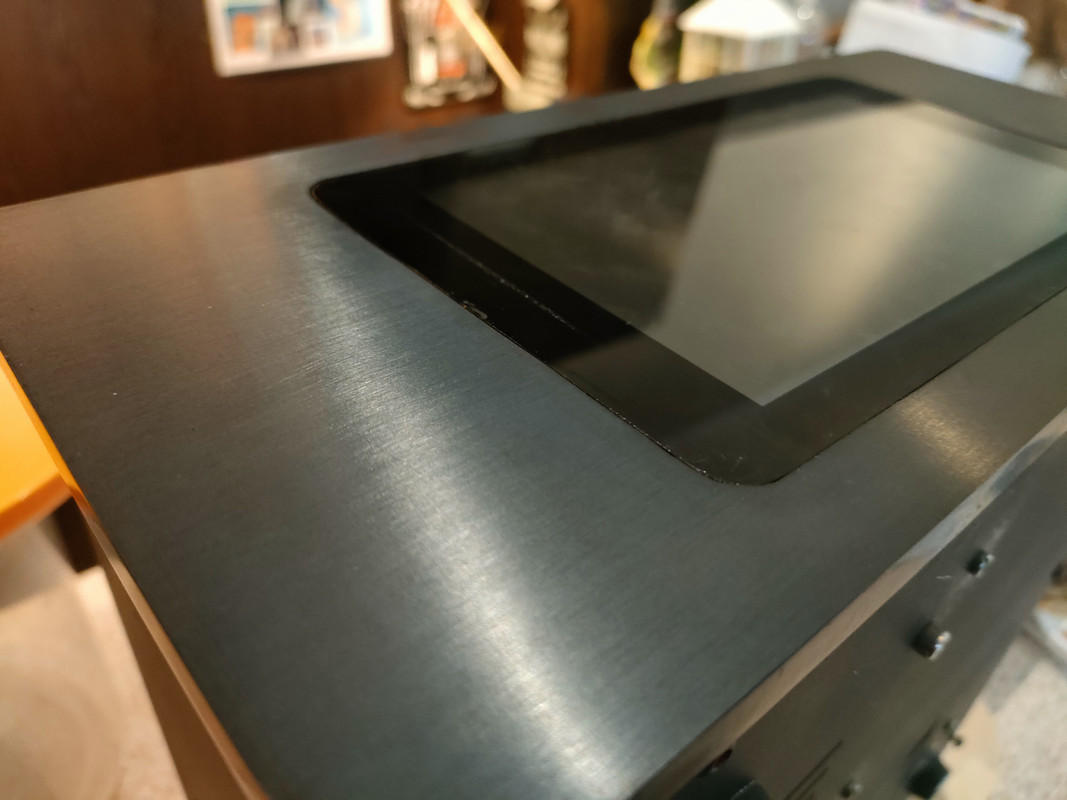
I decided since I'm going the extra mile let's make this thing look professional. I had a 10mm aluminium face plate cut then brushed and anodized black. I was extremely happy with the result.
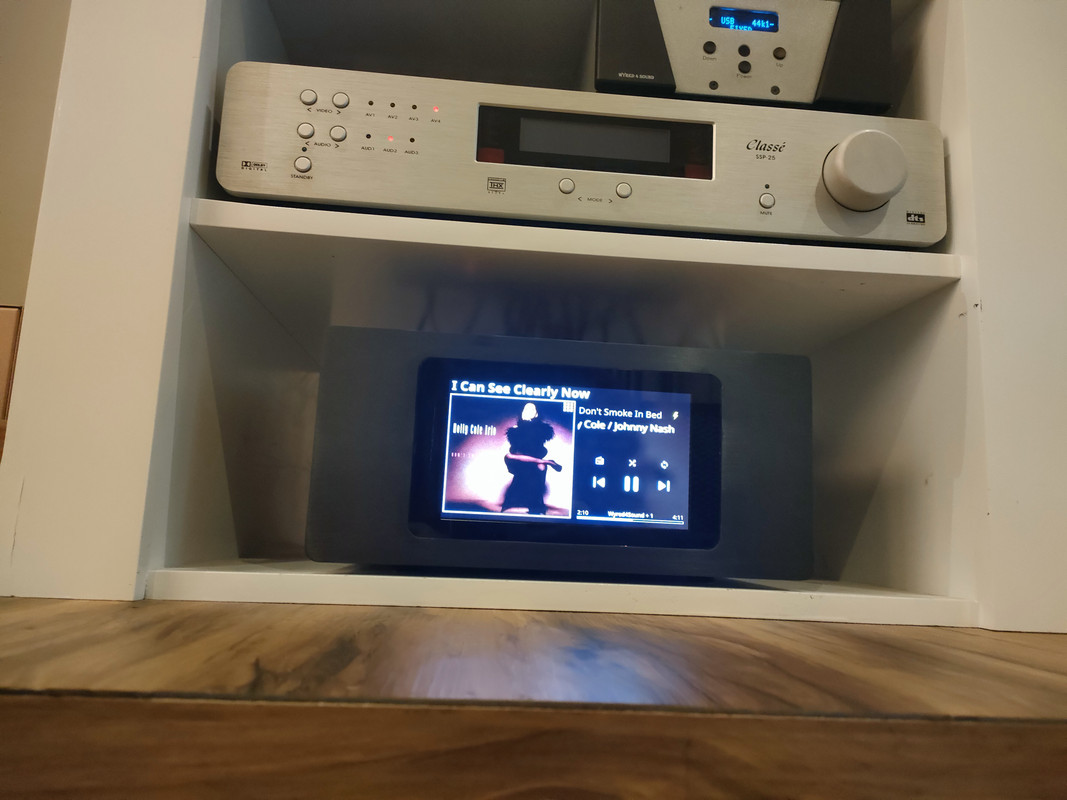
Now the 25 million dollar question that everybody is wondering. How does it sound?
Well I can't tell any sonic difference using the raspberry pi or the intel nuc connected via USB to my Exogal DAC or my Wyred4Sound Dac. In fact the raspberry pi may be ever so slightly quieter with the linear PSU.
Here are the pics of the build.

The goal was to build a streamer out of the parts I had lying around and what I could get for free barring the chassis as it would be a custom design and IT HAD TO HAVE A LINEAR PSU.
So off to the garage and find the best raspberry pi that I had using a Suptronics base board and a Suptronics dac hat.
The dac hat is just there if I ever connect up to a system that doesn't have an external USB dac.
Then I go through my box of parts and collect everything I need for the linear PSU. Make the board and etch it for the psu using a LM7805 regulator with a normal heatsink on. Well, it took about 30seconds for the heatsink to get to a temperature that I couldn't touch it. Off to the ALWAYS helpful Garth Moore, We go through the extremely organized stock that he has and get a heatsink that is capable of managing the heat. I fired it up and its stable but the transformer is getting warm. I managed to find a transformer that's capable of delivering the power needed for the raspberry pi as its drawing about 1.7 amps from the transformer.
Next issue. The LM7805 is only rated at 1.5A so its running beyond max. I then consulted the all-knowing internet for a substitute that I could use. I find the LM323 is rated at 5v 3A......perfect. I'm good to go.
Modify the PSU and test it. Its working perfectly. Interesting though I still get the low voltage warning intermittently on the raspberry pi even though I'm delivering a constant 5.02V and the range for these devices is 4.75 - 5.25v. I even tried the Original Suptronics 5v 4A PSU and did the same thing. I'm not worried about it as I know everything is stable on the PSU side.
The chassis was an interesting challenge. I wanted to go the extra mile and separate the power from the raspberry pi, so I put a divider between them.
I used red oxide on the chassis to prevent rust and it works as an exceptionally good primer. I used spray mate satin black for the colour.
I decided since I'm going the extra mile let's make this thing look professional. I had a 10mm aluminium face plate cut then brushed and anodized black. I was extremely happy with the result.
Now the 25 million dollar question that everybody is wondering. How does it sound?
Well I can't tell any sonic difference using the raspberry pi or the intel nuc connected via USB to my Exogal DAC or my Wyred4Sound Dac. In fact the raspberry pi may be ever so slightly quieter with the linear PSU.
Here are the pics of the build.